Add Promotional Widgets
Overview
ChargeAfter provides multiple promotional tools:
1. Financing Banners - An advertising message that informs your store visitors of the availability of promotional financing.
2. Product Page Widget - A widget to be displayed on the product page. It informs shoppers that financing is available, it helps conversion by showing a low monthly cost, and allows the user to apply for financing ahead of checkout. More details on the product page widget can be found here.
To use ChargeAfter promotional messaging, the global head item must be included and assigned to the BASK, PROD and SFNT pages, which is the default setup.
Promotional Widget Configuration
The promo widget for the product page is added automatically when the module is installed. Make sure the global footer is enabled for the product page. The chargeAfter promo script is added to the global footer.
- Go to Settings > Payment Settings > ChargeAfter Financing (Promo: Line Of Credit)
- Turn on / off the promotional widget
- Provide a link to the financial page:

- Update:
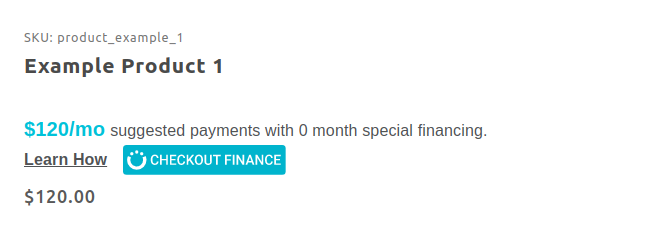
You're done!
Banner Configuration (PROD, BASK, SFNT)
By default, ChargeAfter sets up banners for the following three pages: (1) product page (PROD), (2) basket page (BASK), (3) and storefront page (SFNT).
Miva Merchant software updates may change page templates. You'll need to manually copy the ChargeAfter MVT - <mvt:item name="chargeafter" param="promo" /> to the proper location of the promo in each of the affected templates.
Add a banner to the template by following the steps below:
- Go to Settings > Payment Settings > ChargeAfter Financing (Promo: Banners):

- Activate / deactivate the banner for the relevant page (product (PROD), basket (BASK), or storefront (SFNT))
- Choose the banner type in the drop-down menu (Default, Horizontal, Vertical)
- Click Update
- Go to User Interface > Templates > select page (PROD, BASK, or SFNT):

- Paste the code <mvt:item name="chargeafter" param="promo" /> where you want the banner to appear:
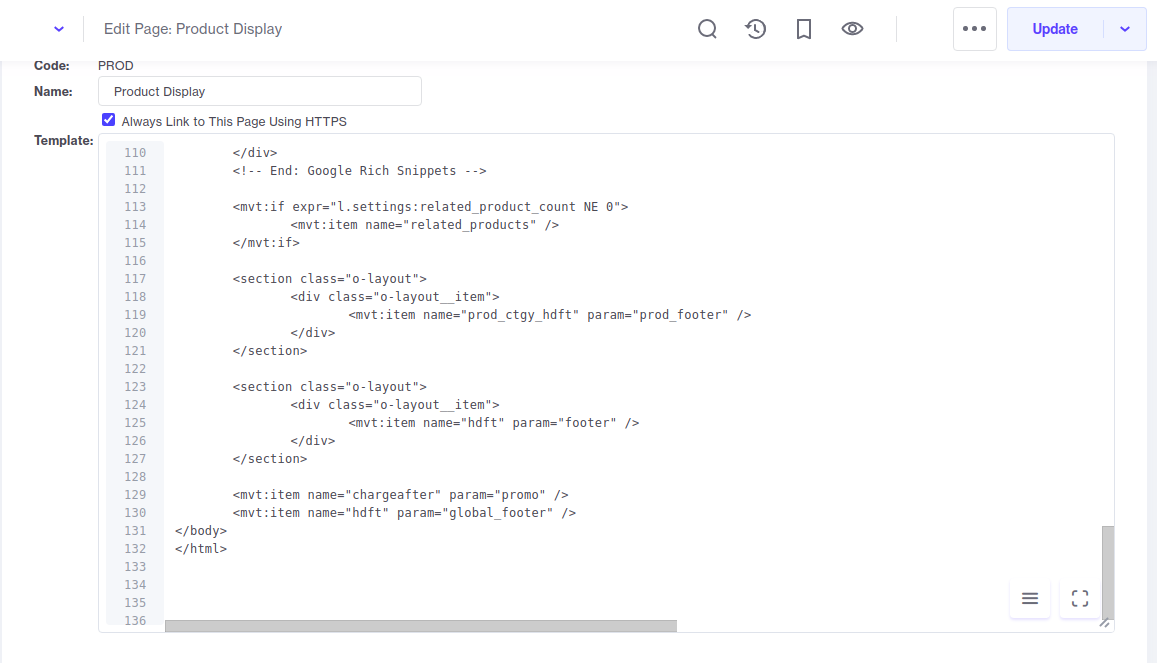
- Update:
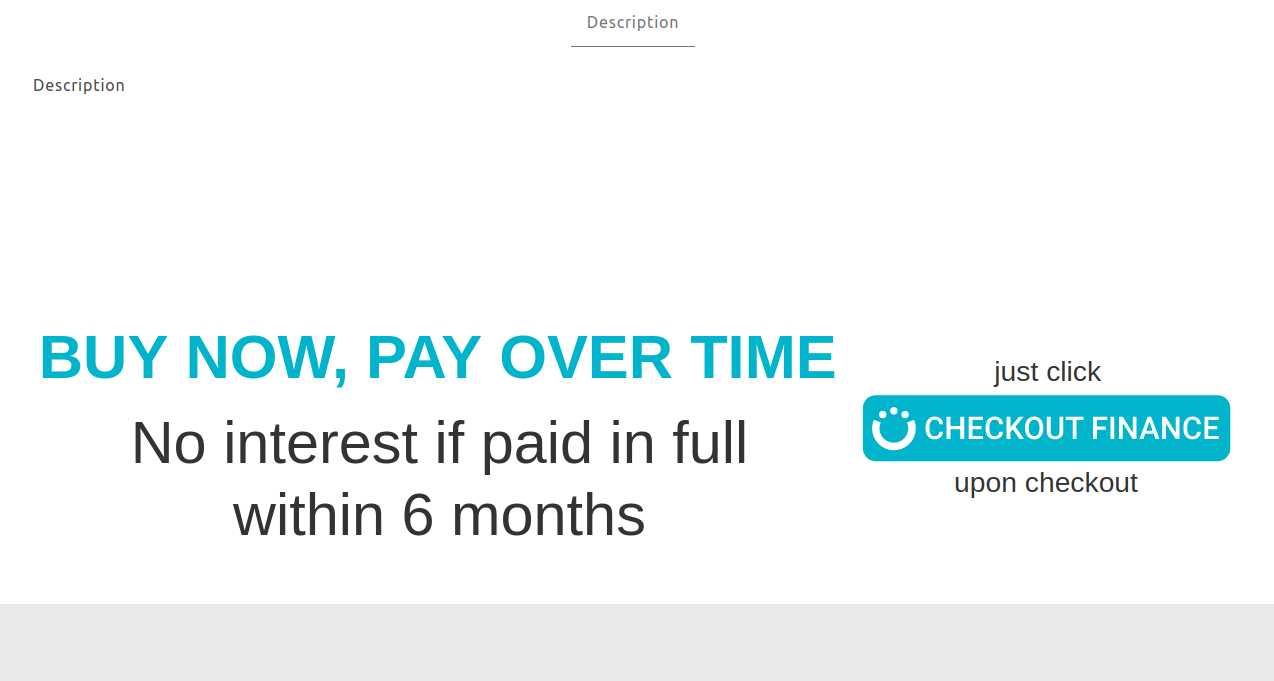
Banner Configuration (custom pages)
In order to embed the promotional banner to any other page in the store, follow the steps below:
- Go to User Interface > Templates > Items:
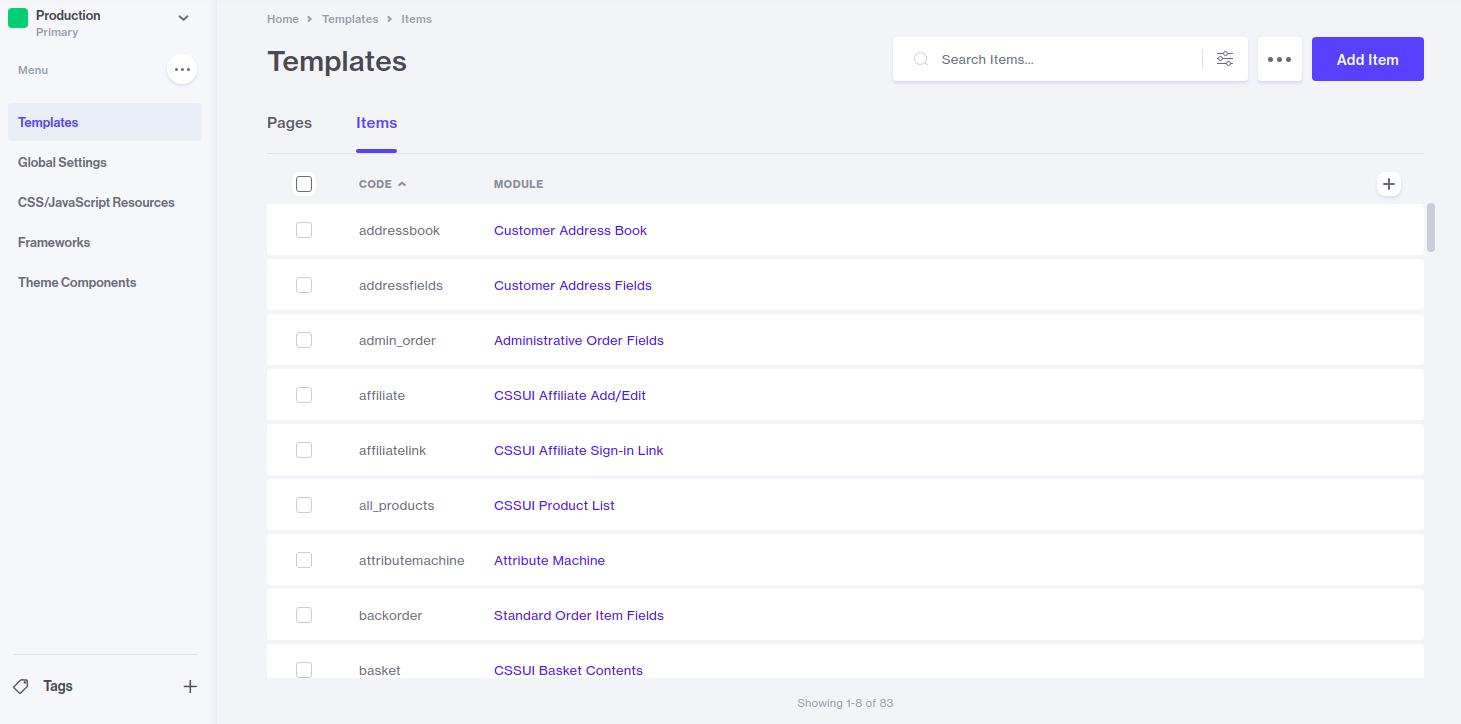
- Enter "chargeafter" in the search field > click on the Module:

- Select the Pages tab:
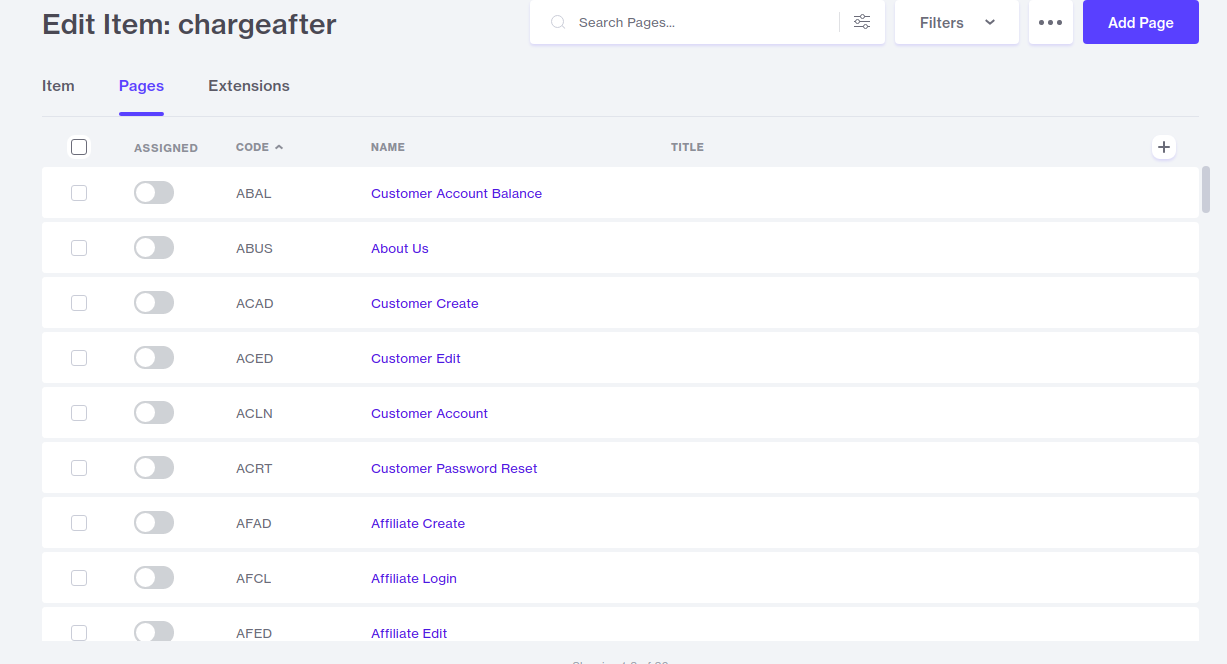
- Select the page where you want to enable the banner > click Assign:

Important
Don't turn off the assigned option for pages PROD, BASK, OPAY, SFNT. It should be always on.
- Go to User Interface > Theme Components > Banners > Add Banner:

- Fill in fields per table below the image:
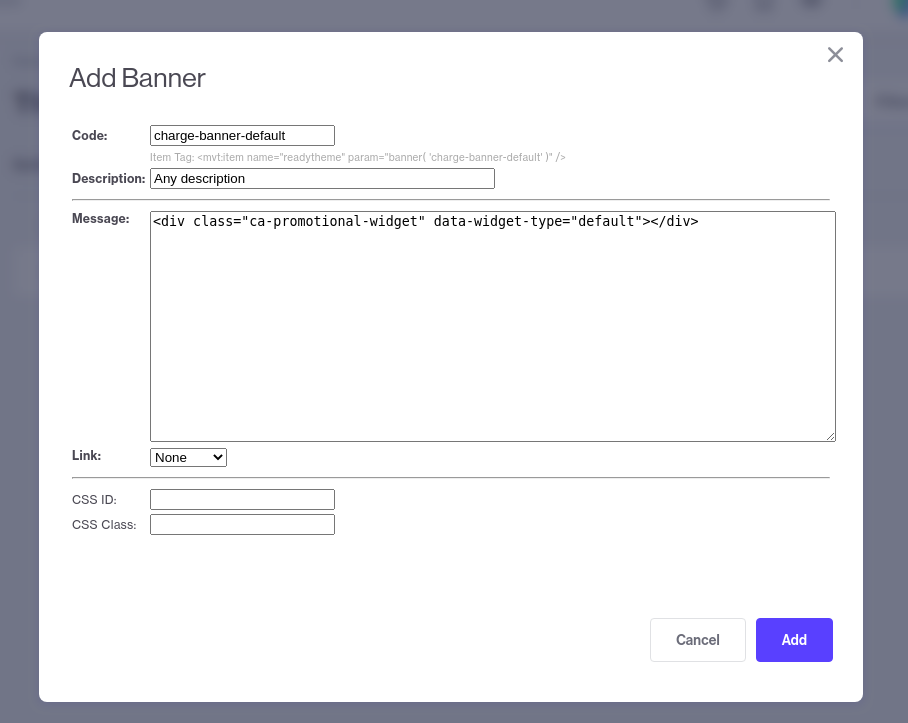
| Field | Description |
|---|---|
| Code | Any code. We recommend charge-banner-{type} You can reuse the banner |
| Description | Any short text |
| Message | Paste code: data-widget-type - default \ banner-horizontal \ banner-vertical |
- Copy Item Tag > click Add:

- Go to User Interface > Templates > select page (step 4)
- Paste the Item Tag code where you want the banner to appear:
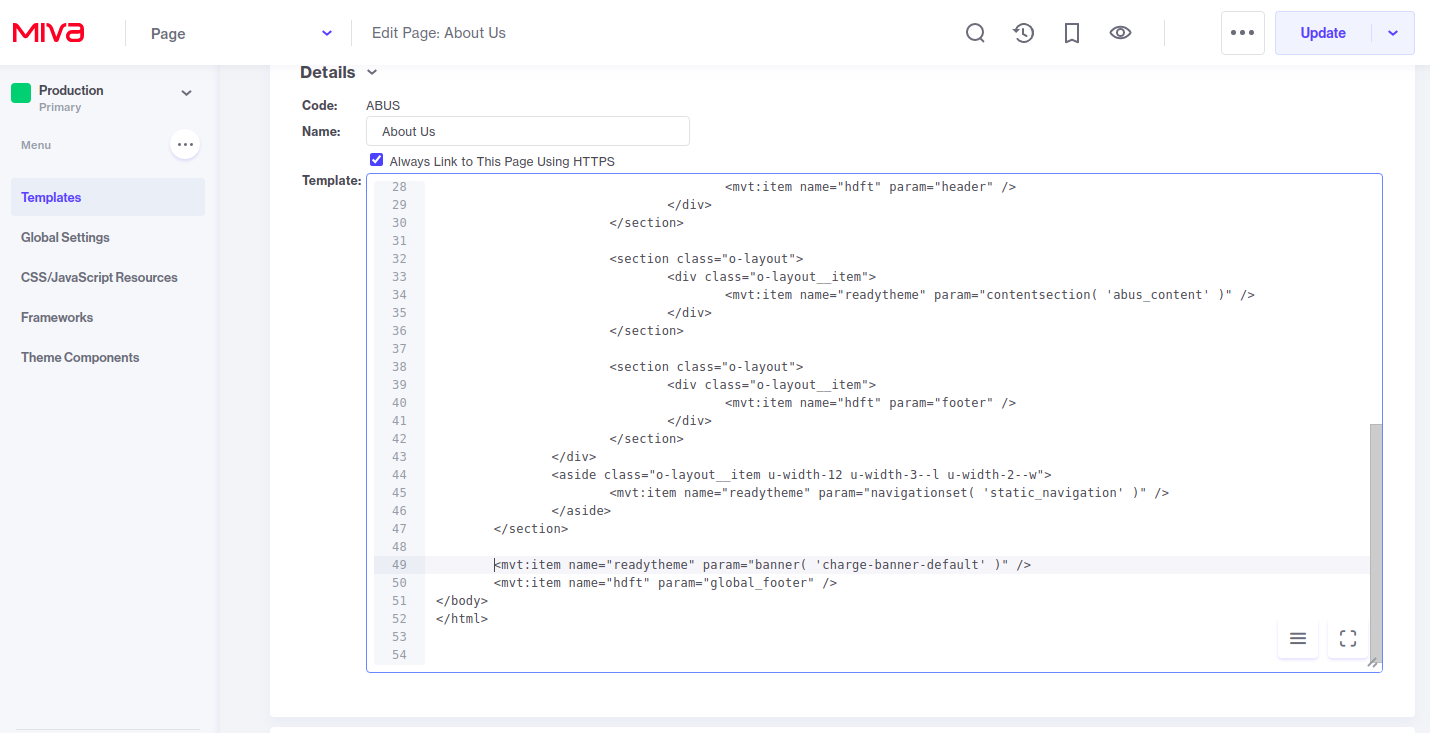
- Update

Updated over 3 years ago
