Add Promotional Tools
Overview
The Promotional Widget is a powerful marketing tool to keep shoppers informed about financing options while browsing product pages or before making a purchase. Adding a widget can improve average order value and increase conversion rates - minimizing cart abandonment.
This section of the guide explains how to add promotional tools to your Shopify Store for legacy theme structures. For more detailed information about the tools, please view the Promotional Widget section.
More Options for Adding Promotional
At this document is an Adding Block Promos guide for merchants with Themes Online 2.0 . This document also includes steps to add promotional manually if you don't use schema from Theme Online 2.0
Adding Promotional Widgets for Themes Online 2.0
Note:
You Shopify theme must to basic on Theme Online 2.0 structure. Legacy theme structures may use the Adding Promotional Tools guide in this document
Installation
-
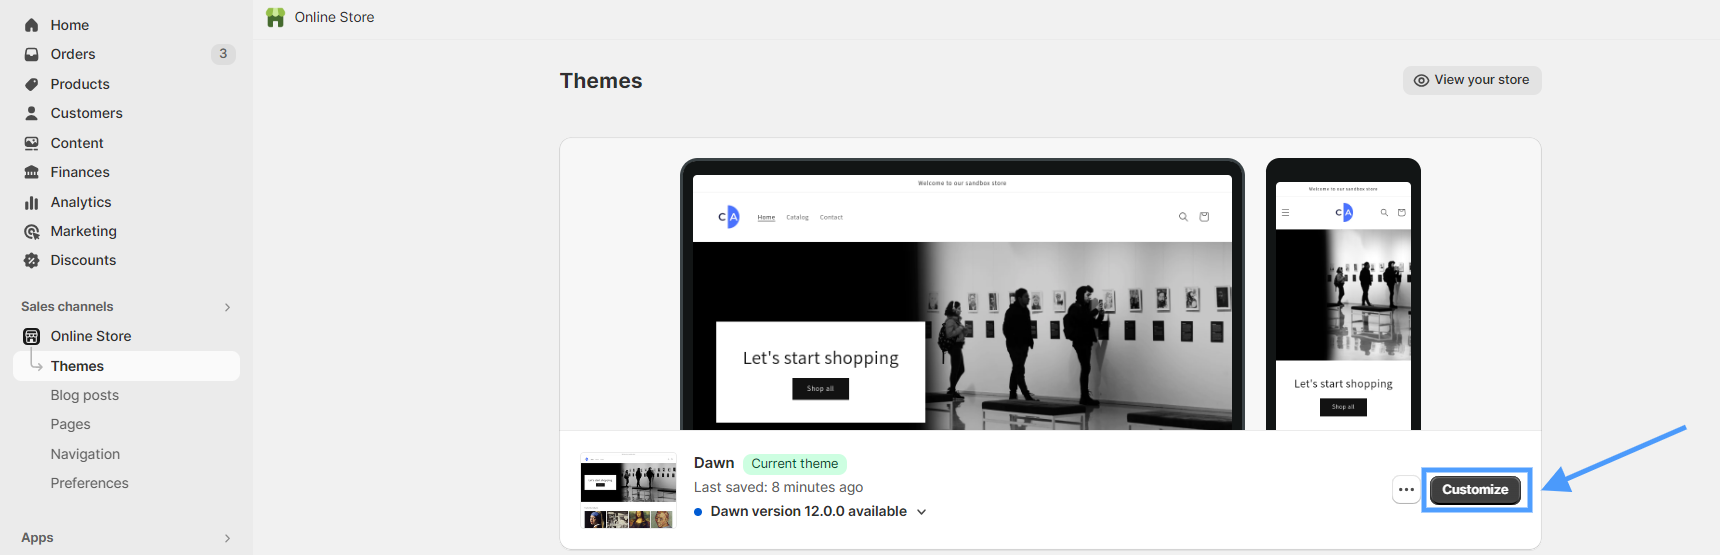
In the store’s admin site, navigate to the Online Store > Themes > Customize:
-
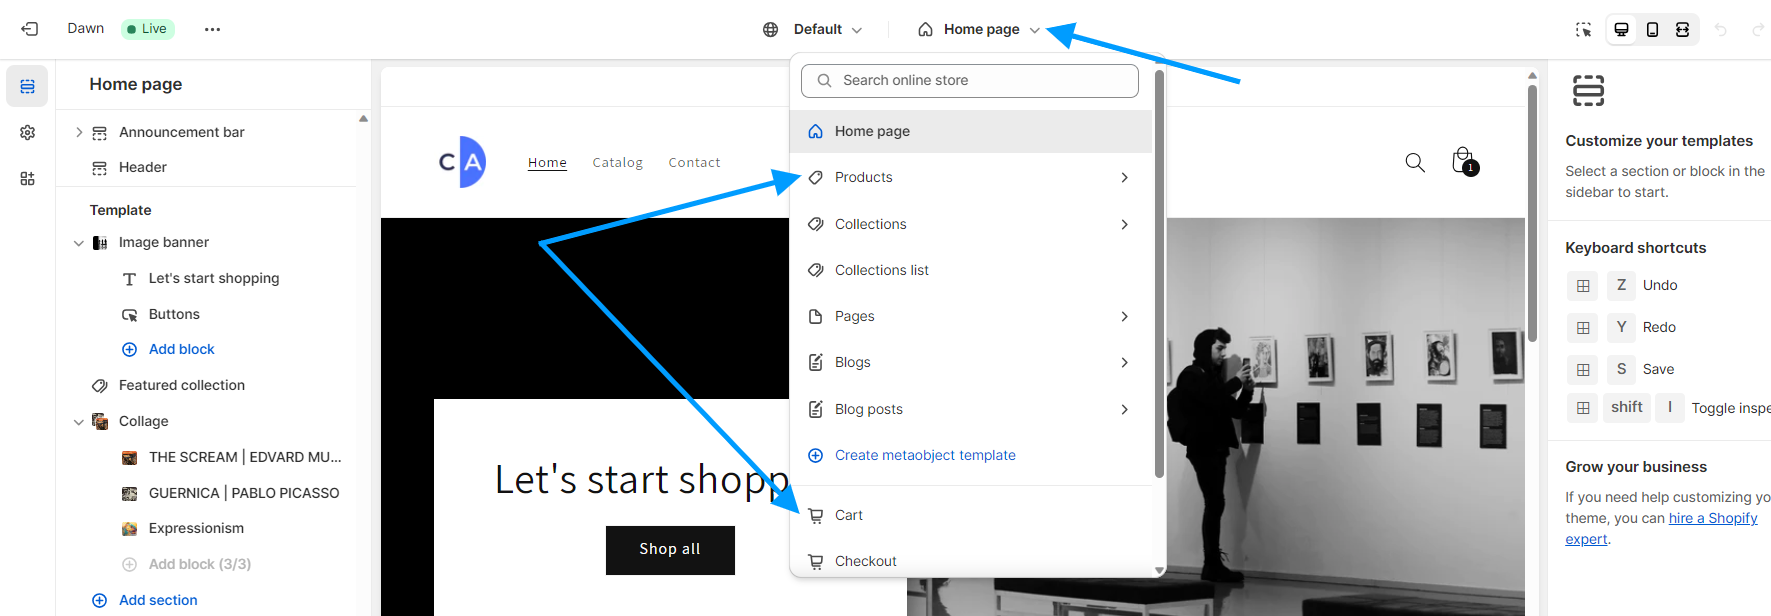
On the Customize page in the Home page drop-down list, select the Products or Cart page template:
-
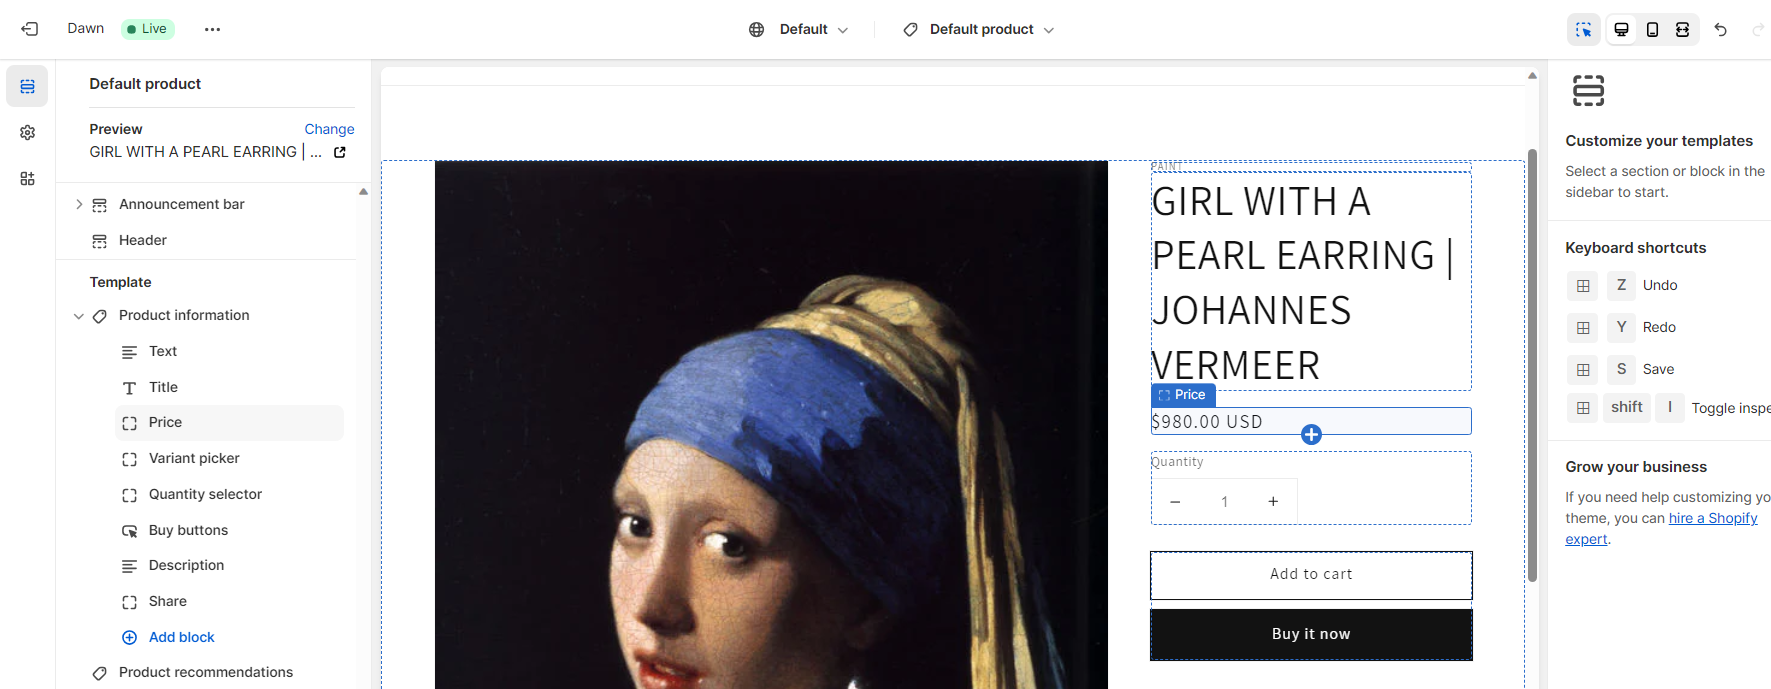
In the workspace, hover over the price and click the small plus (+) icon (or click on Add block on left sidebar):
-
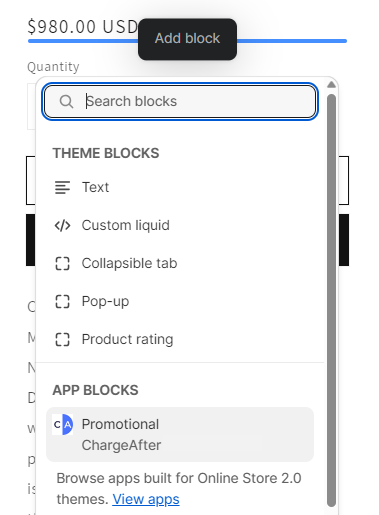
Add Promotional block from the app list:
-
Go to the Financing Page in the right side panel (from the list of Shopify pages), enter Promotional Tag (optional) > Save:
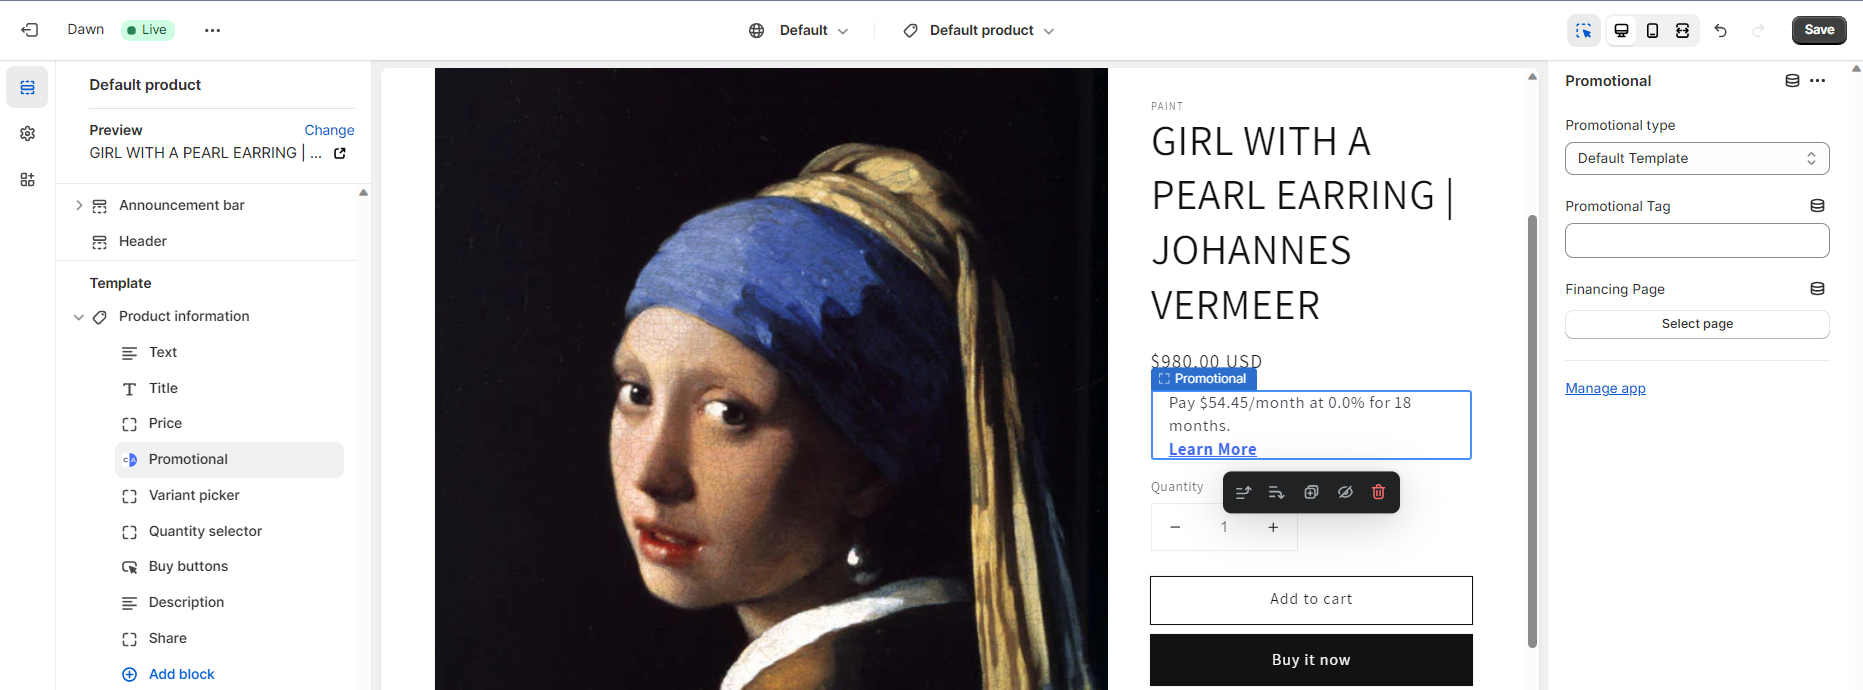
It is recommended to add the widget in close proximity to the product’s price.
-
You're done!

Adding Promotional Widgets Manually
Note:
Adding promotional tools involves making changes to your store’s Theme code. The steps outlined in the next subsections need to be repeated for each theme where you want the promotional tools to be included.
Configuring your theme
From your Shopify Admin Site click Online Store, follow the below steps:
- Click Themes to go to the Themes page.
- On the Themes page, find the theme where you want to add ChargeAfter promotional tools.
- Next to the theme name, click Actions > Edit code. The code editor page opens.
- From the code editor directory scroll down to the Snippets folder and click Add a new snippet. The Add a new snippet dialog pops up.
- Enter
chargeafter-widgetand click Create snippet. A new file with the namechargeafter-widget.liquidwill be added to the Snippets folder. - Open the file
chargeafter-widget.liquidyou just created. - In the code section copy and paste the following code from Integration Guide (HTMLD + JS)
- In the line apiKey:
_public-api-key_replace_public-api-key_with your merchant Production Public Key. - Save the file.
- Scroll up to the Layout folder and open your theme layout file, which by default is
theme.liquid. - Insert the following line of code above the closing head tag :
{% include 'chargeafter-widget' %}
Adding Promotional Widgets
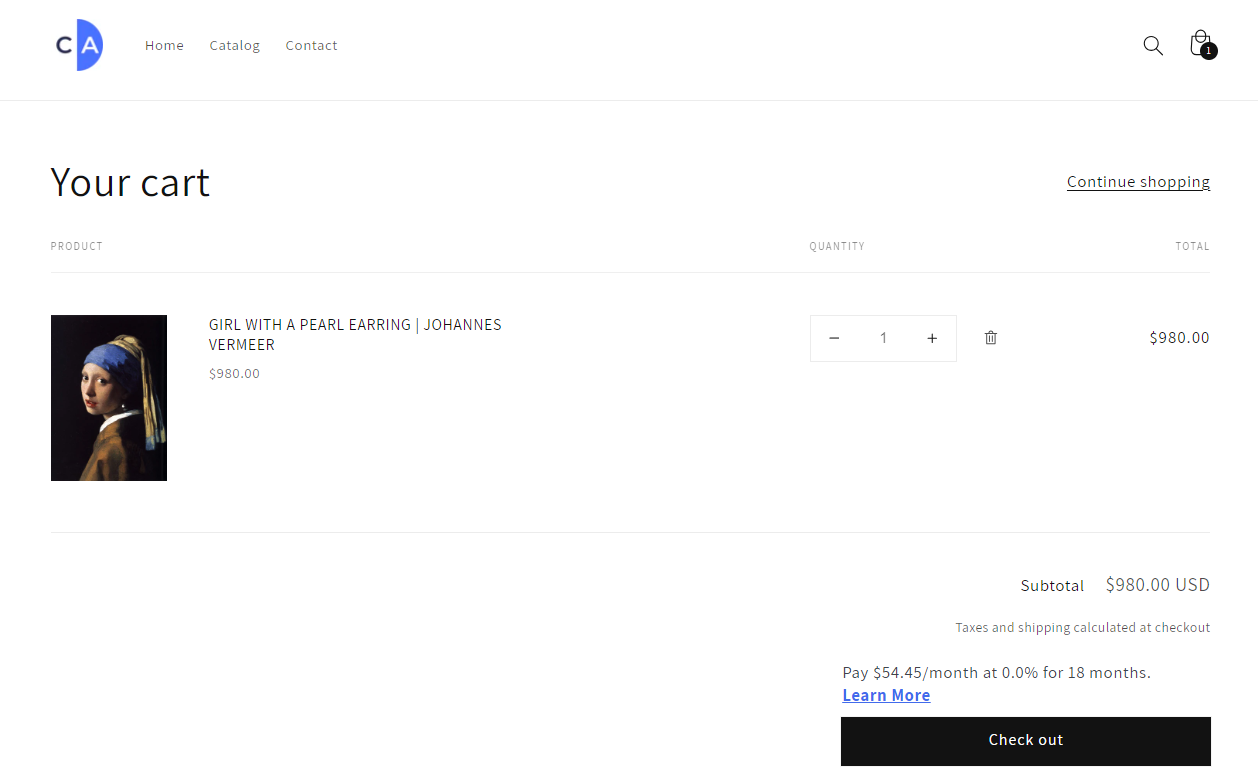
The promotional widget is intended to be displayed in the Product page, next to the product’s price, or in the Cart page, next to the total price.
Follow these steps to add the ChargeAfter promotional widget:
-
On the Themes page, find the theme to which you want to add ChargeAfter promotional tools.
-
Next to the theme name, click Actions > Edit code. The code editor page opens.
-
From the Code Editor directory, open the Template file for your product or cart page content. For sectioned themes, this file will be located under the Sections folder. For Non-sectioned themes, it will be located under the Templates folder.
-
Insert the following HMTL code wherever you want to display ChargeAfter promotional widget:
Widget for product page:
<div
     class="ca-promotional-widget"
     data-widget-type="default-template"
     data-widget-item-sku="{{ product.selected_or_first_available_variant.sku }}"
     data-widget-item-price="{{ product.selected_or_first_available_variant.price | money_without_currency | remove: ',' }}"
     data-widget-item-tag="tag" // Optional attribute
     data-widget-financing-page-url="your-financing-page">
</div>
Widget for cart page:
<div class="ca-promotional-widget" data-widget-type="default-template" data-widget-item-sku="cart_sku" data-widget-item-price="{{ cart.total_price | money_without_currency | remove: ',' }}" data-widget-item-tag="tag" // Optional attribute data-widget-financing-page-url="your-financing-page"> </div> -
In the code above, replace “financing-page” with the financing page URL you wish to display. Please refer to the Promotional Widget section for a list of widget properties available.
Updated over 1 year ago