Installation
This guide describes how to integrate the ChargeAfter's financing solution into your Shopify store.
Install ChargeAfter Payment App
-
Access the ChargeAfter Payment App by following one of the links below, according to the brand that you are interested in:
SatisFi Brand
Consumer Financing Brand -
Press the "Install" button and log in to your store. You will be redirected to the installation page.
-
Click on Install app, shown below:
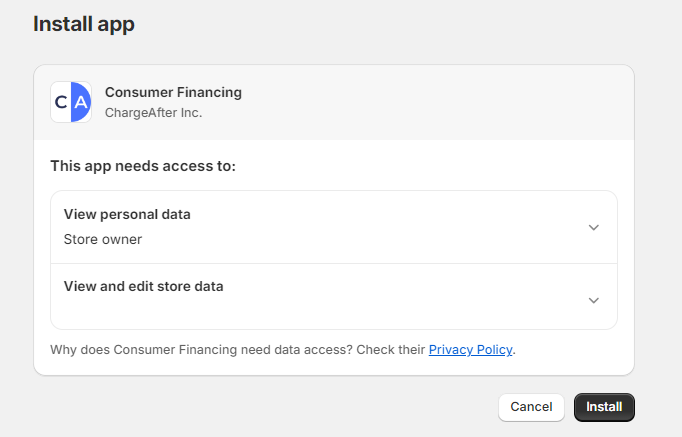
Installation Page
-
After app installation, you will be redirected to the Payment Gateway settings page. You need to configure credentials to activate the gateway. Click on the green Manage button:
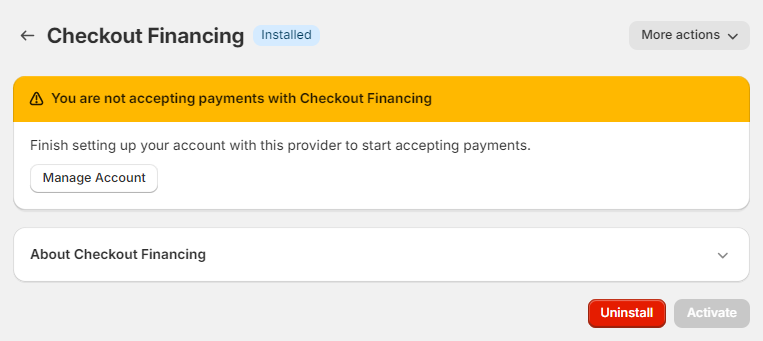
Payment Gateway Settings Page
Note
Full path for navigate to the payment gateway settings page:
Admin > Settings > Payments > Supported payment methods > select Payment Method by ChargeAfter > click on More actions dropdown > Manage -
You will be redirected to the Settings page. Enter the Public and Private API keys in the Credentials section and choose transaction mode, click on the Save button.
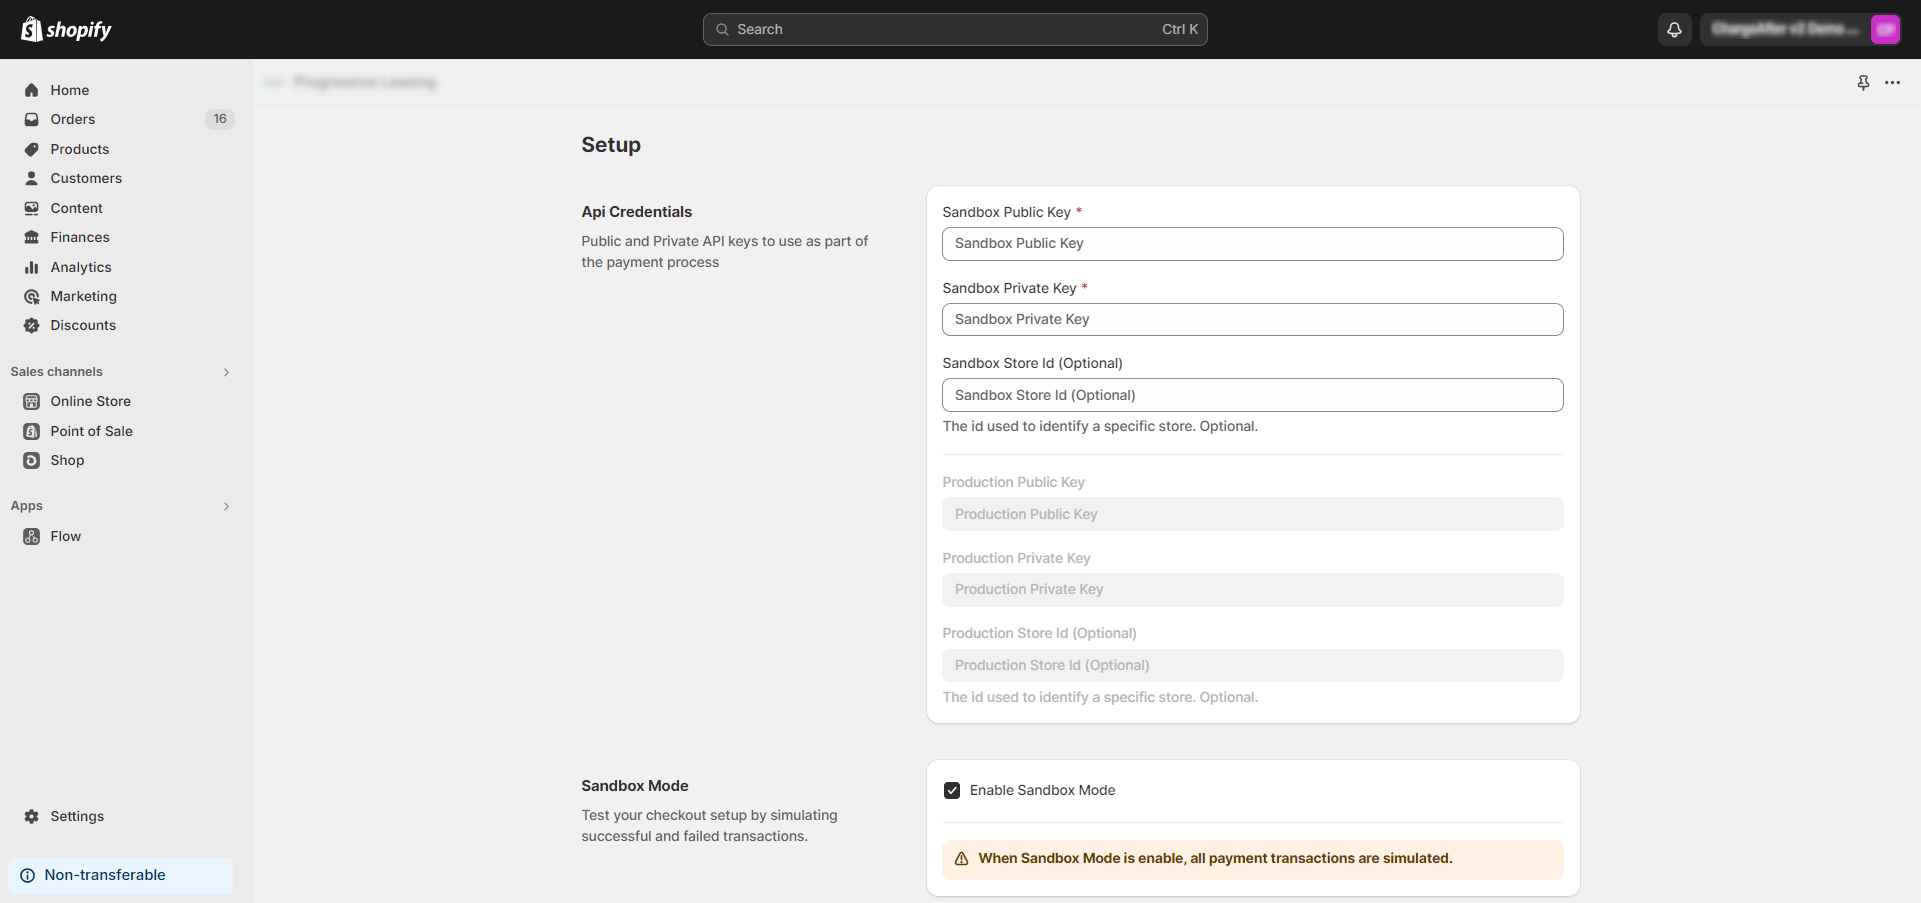
Settings Page
You should use two different sets of keys from ChargeAfter for Sandbox \ Production environments.
After saving, you should see an offer above the form to complete the payment gateway settings. Click on the Activate Provider link, shown below:

Activate Provider Action
-
You will be redirected back to the payment gateway configured. You can choose payment branding and activate Test mode for Shopify transactions. Click on the Activate button to enable the payment gateway:
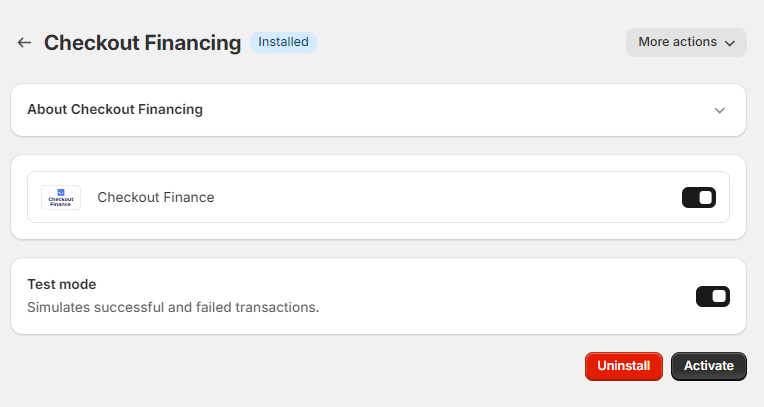
Payment Gateway Settings Page
-
Done. ChargeAfter Payment gateway is activated:
Payments Block
Updated about 2 years ago