Installation
Before You Start
Make sure you have Public and Private API keys to use as part of the setup process
Install The ChargeAfter Plugin
- Navigate to the Shopware Admin > Settings > System > Plugins:
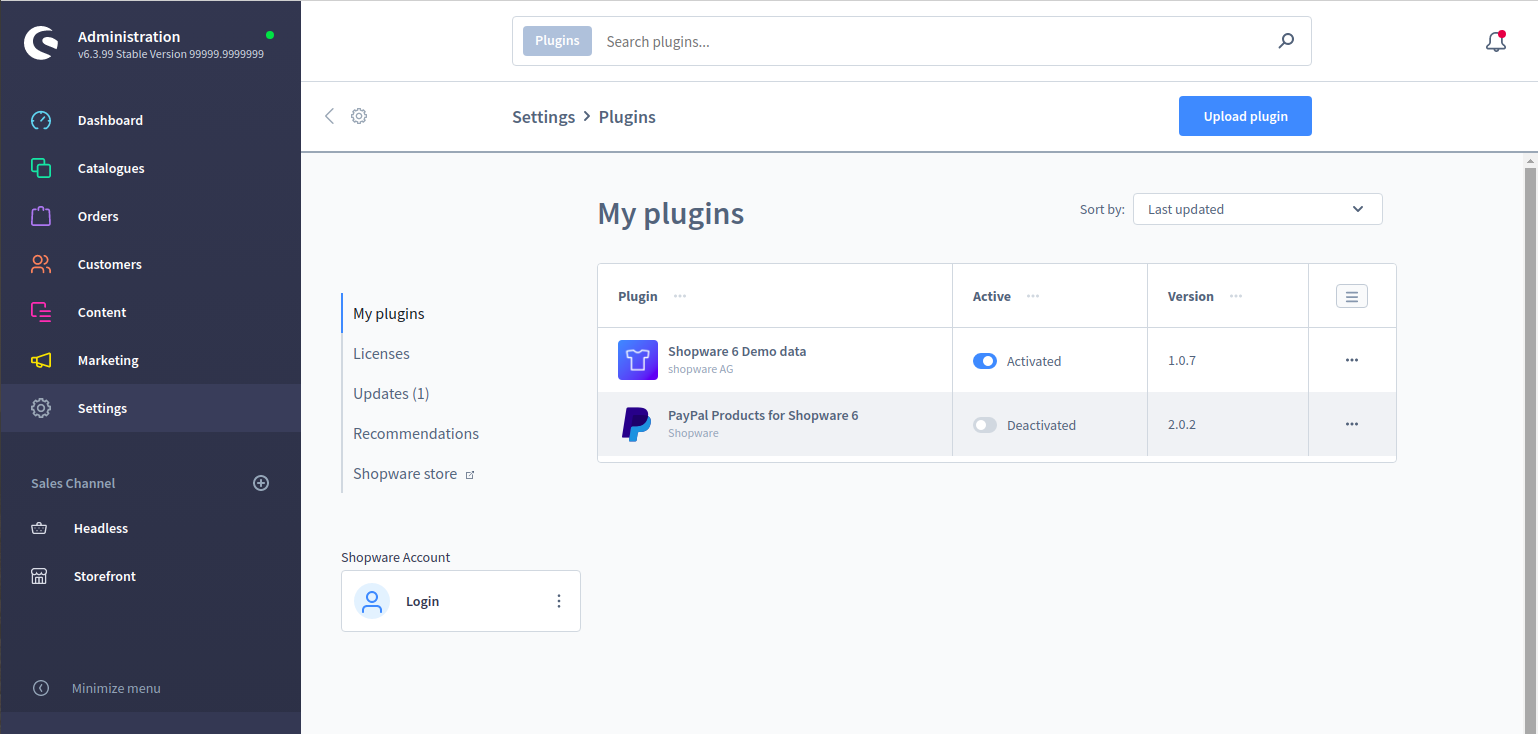
- Click Upload plugin > select the archive with the plugin (е.g., ChargeAfterGateway.zip). The plugin will automatically download and be available in the list:
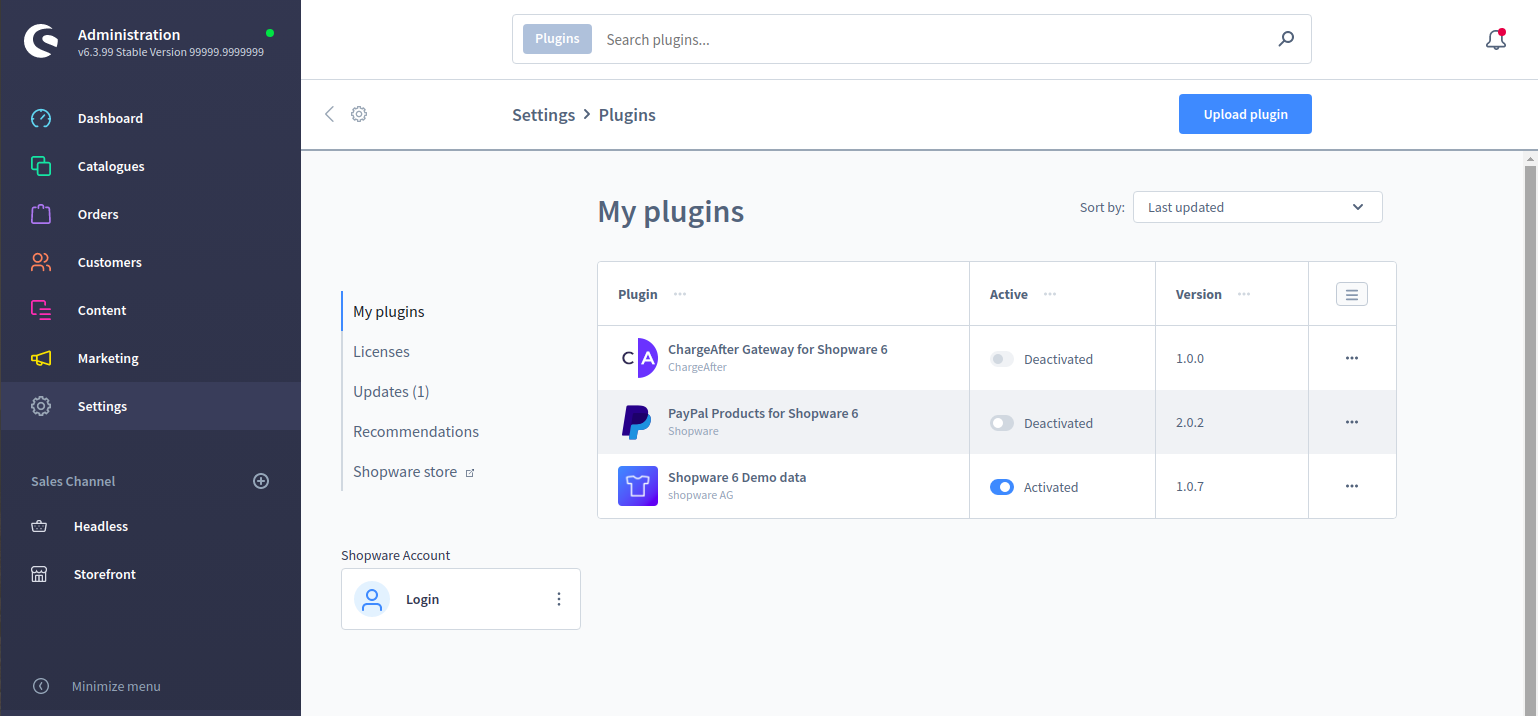
- In the list, click on additional actions (...) > select Install from the drop-down menu:
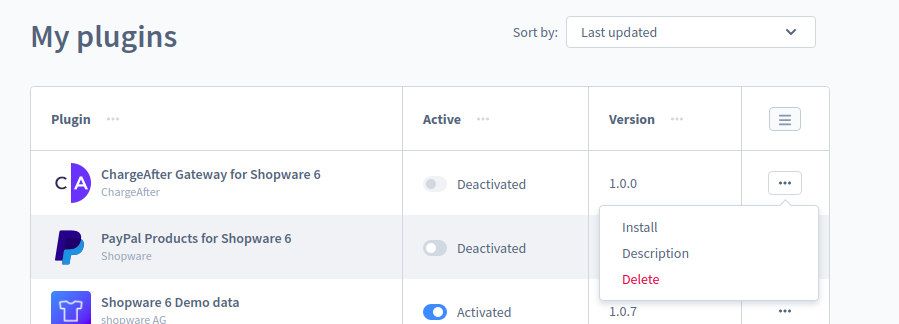
- After setup, activate the plugin:
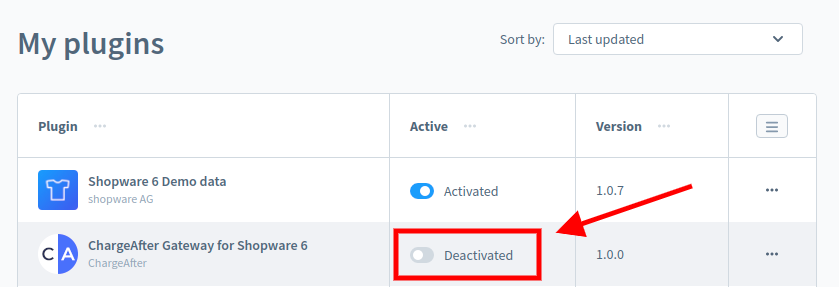
- Plugin installed!
Settings
- Navigate to the Shopware Admin > Settings > System > Plugins
- In the plugin list, click on additional actions (...) > select Config in the drop-down menu:

Please note, in version 6.4.0 and above, the plugins have been moved to a new section "Extensions"
- On the setup page, you must select the sales channel where the payment method will be used > click Set ChargeAfter as default. Set to All Sales Channels if you're unsure what to select:
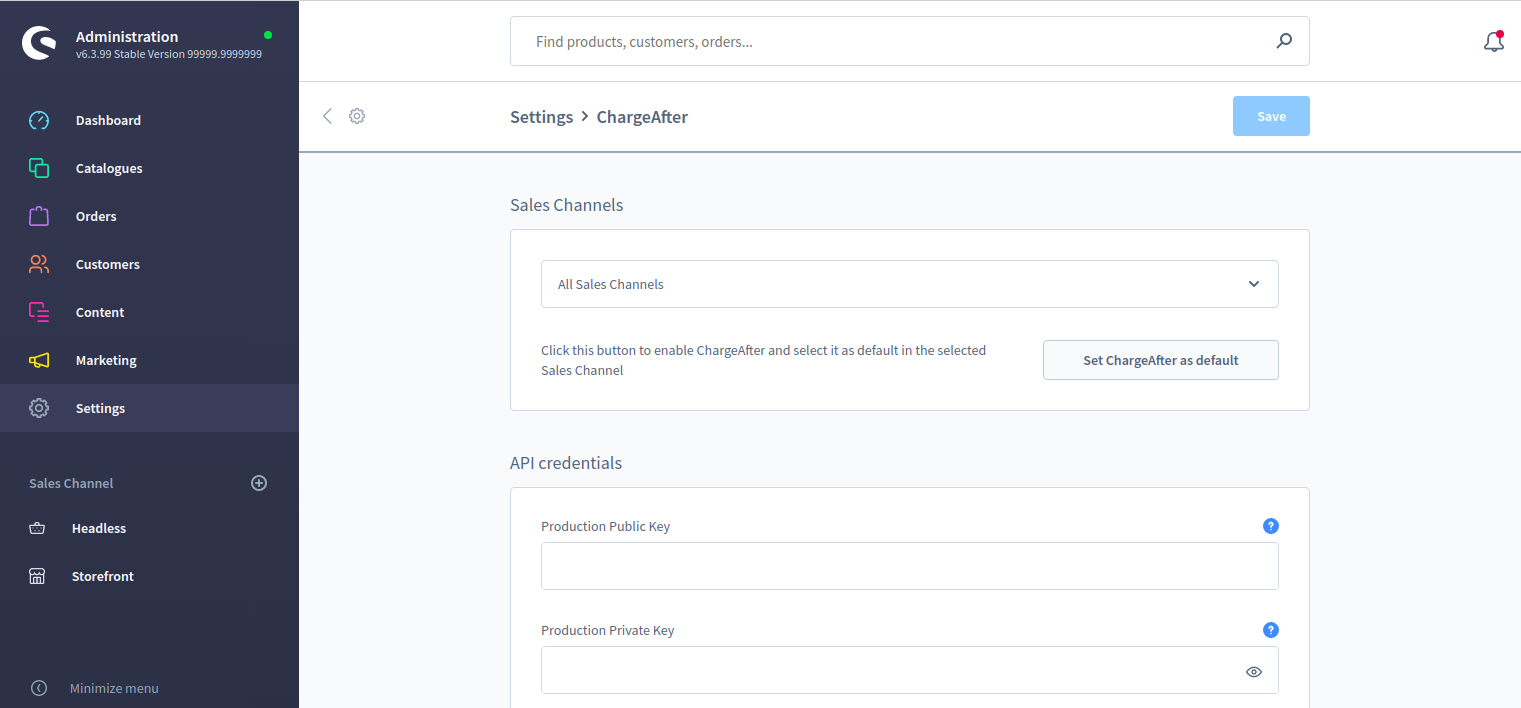
- Scroll to API credentials and provide your ChargeAfter keys:
(Notice the Enable sandbox setting - use this setting to test your payment method, do not leave the setting enabled for a live site)
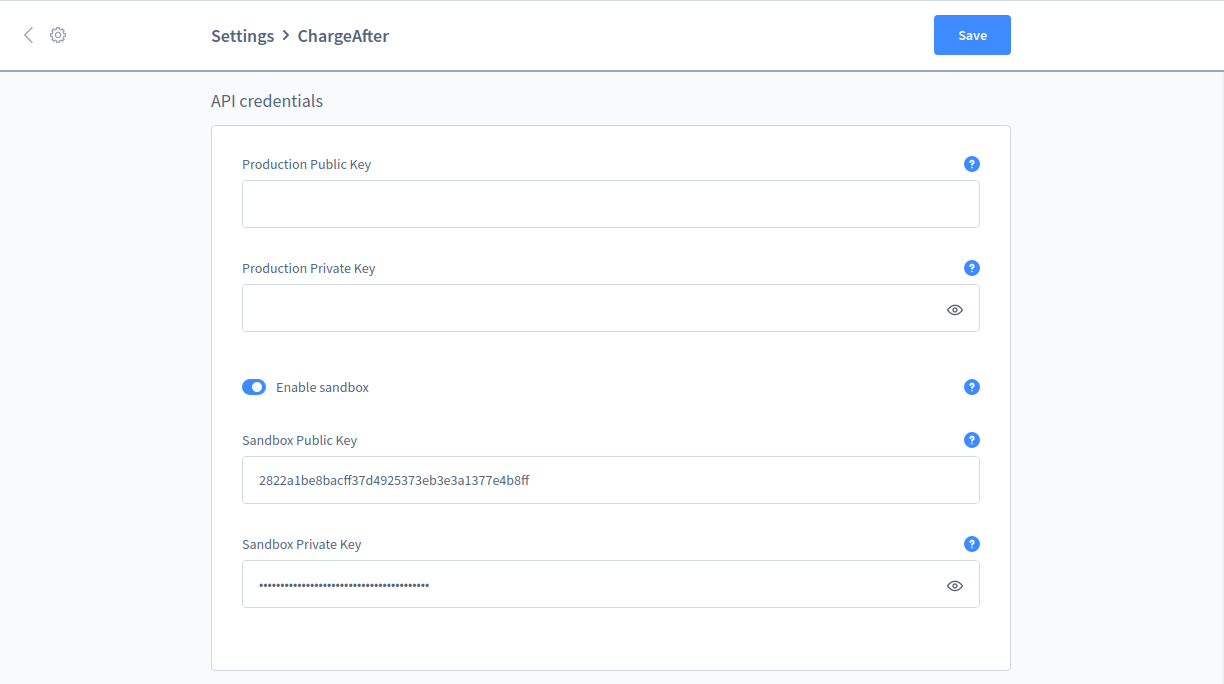
- Fill in the fields
- Save
- You're done!
You can now use ChargeAfter in your store
Updated over 2 years ago
What’s Next
