Installation
Before You Start
Make sure you have Public and Private API keys to use as part of the setup process
Install The ChargeAfter Plugin
- Go to BigCommerce Applications Marketplace > click the Get This App button:

- Enter your store:
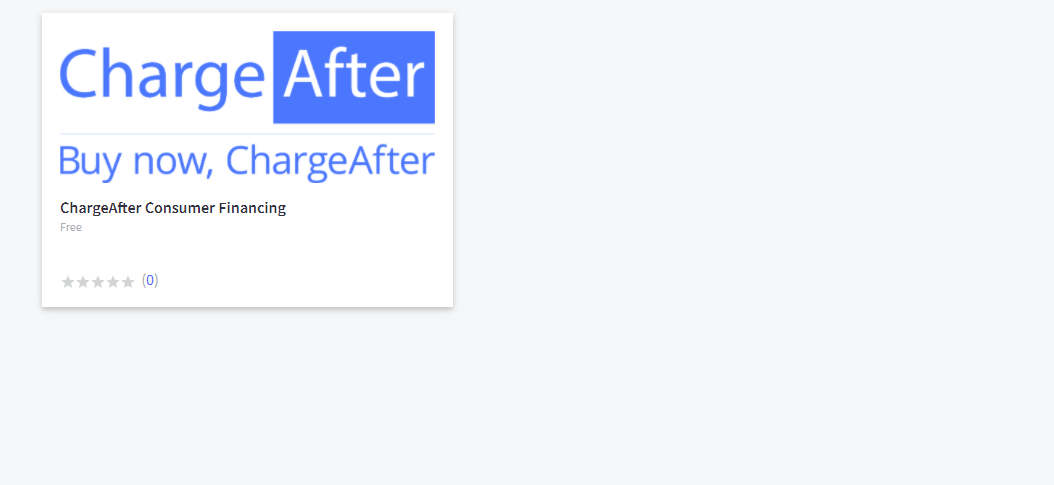
- Click the Install button on the application widget:

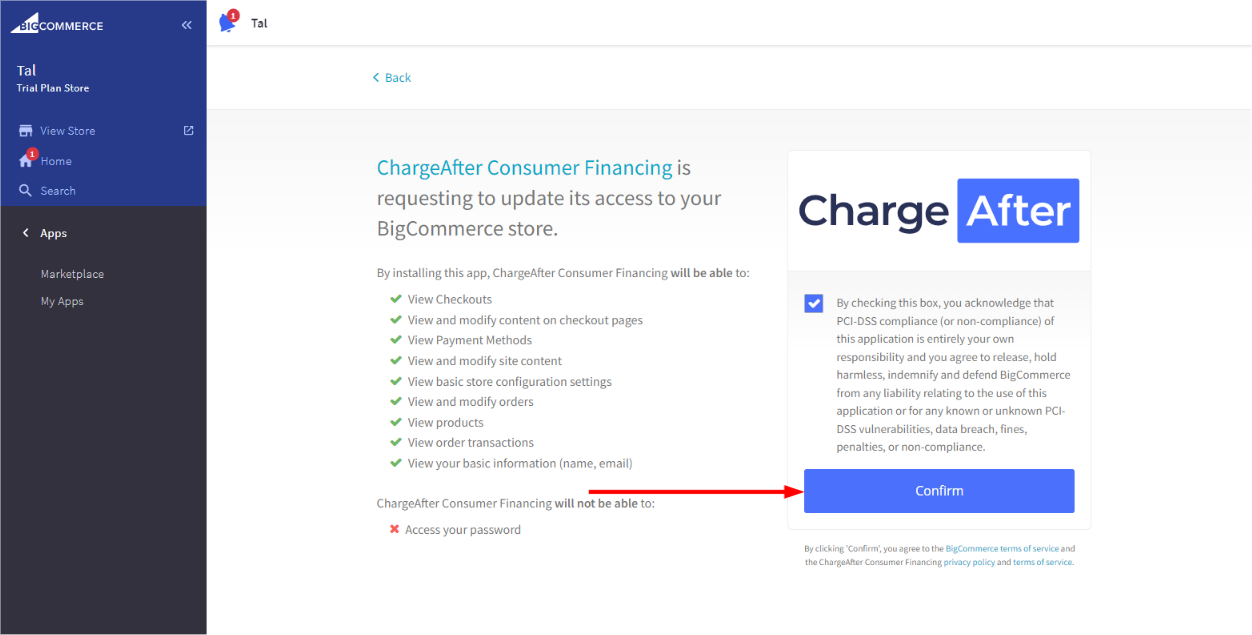
- After installation, click Confirm:
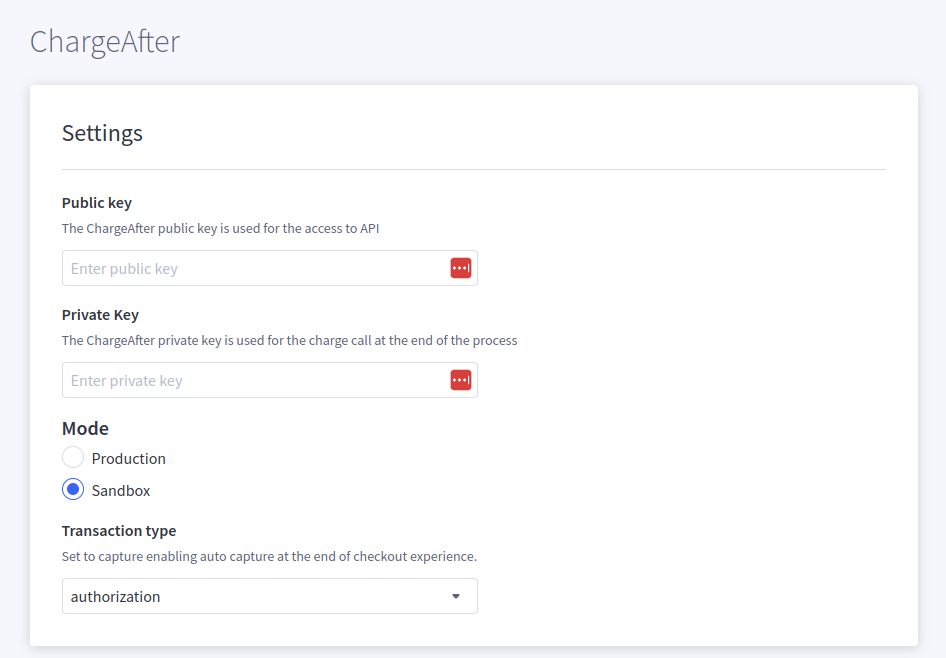
- Enter the Public and Private API keys in the Settings panel. Next, choose your Mode:
- You will receive two different sets of keys from ChargeAfter from Sandbox and Production environments
- Choose the appropriate integration environment. We strongly recommend to test your solution in the Sandbox environment before promoting it to Production environment.
- Choose the transaction type to authorize only or authorize and settle payment
- Click the Submit button to apply the changes for your store
Configure The New Payment Method
Why Is This Needed?
BigCommerce requests that a new payment method replaces an existing unused payment method. The documentation shows how to override the option to pay with a Check. If this is an option you need, contact the ChargerAfter merchant onboarding team for guidance.
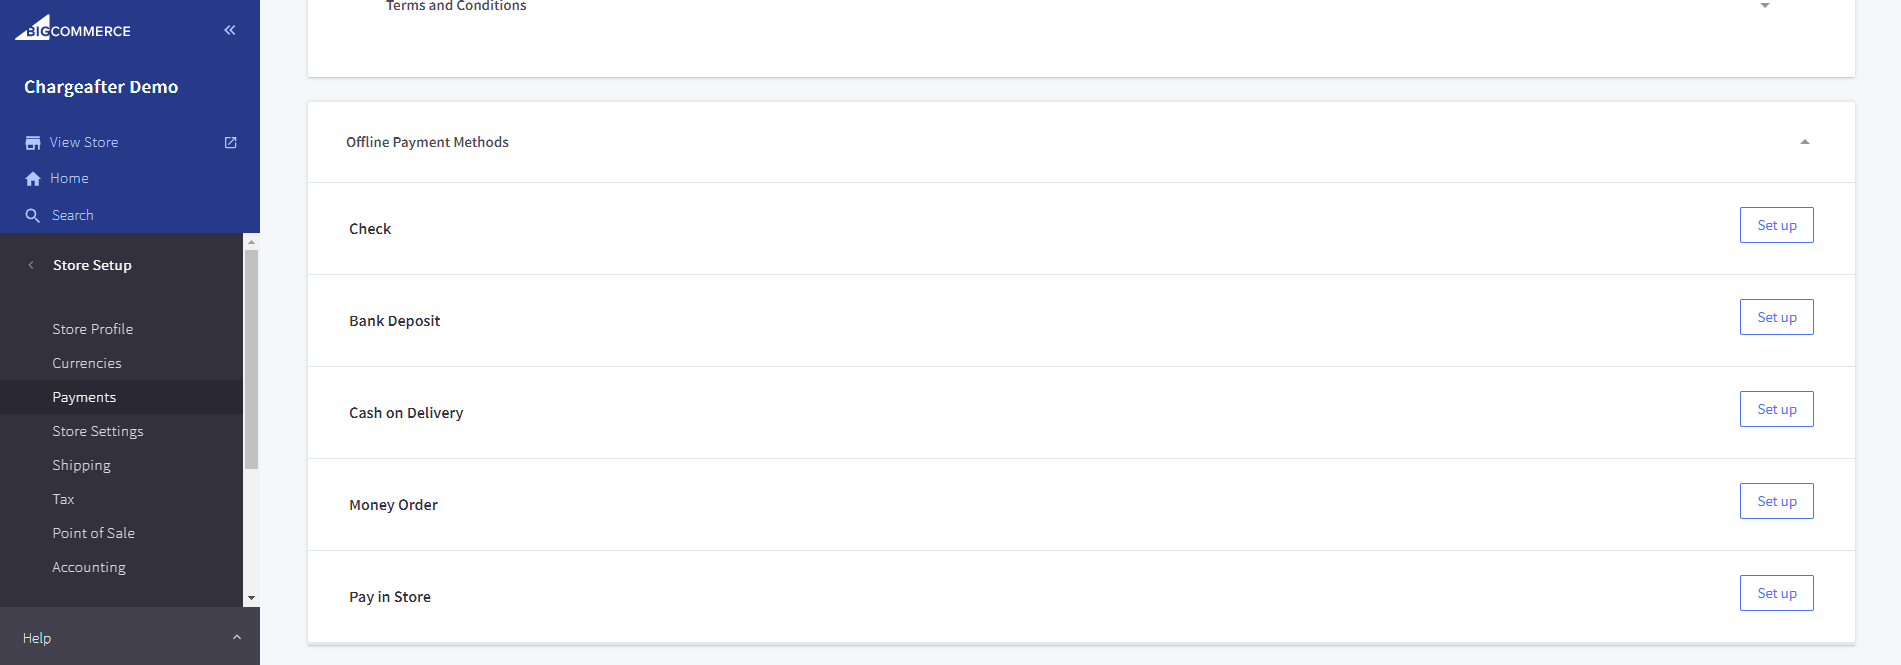
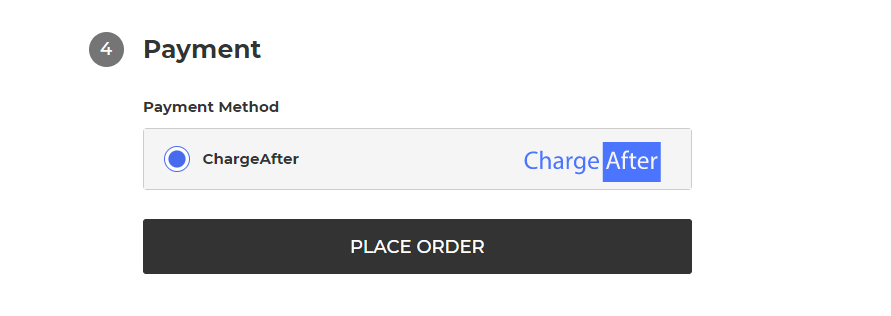
- In your store portal, go to Store Setup > Payments > open the drop-down with offline methods > next to Check payment method, click the Set up button:
- Set up the Check payment method by filling in the following data:
- Display Name: ChargeAfter
- Available Countries: United States
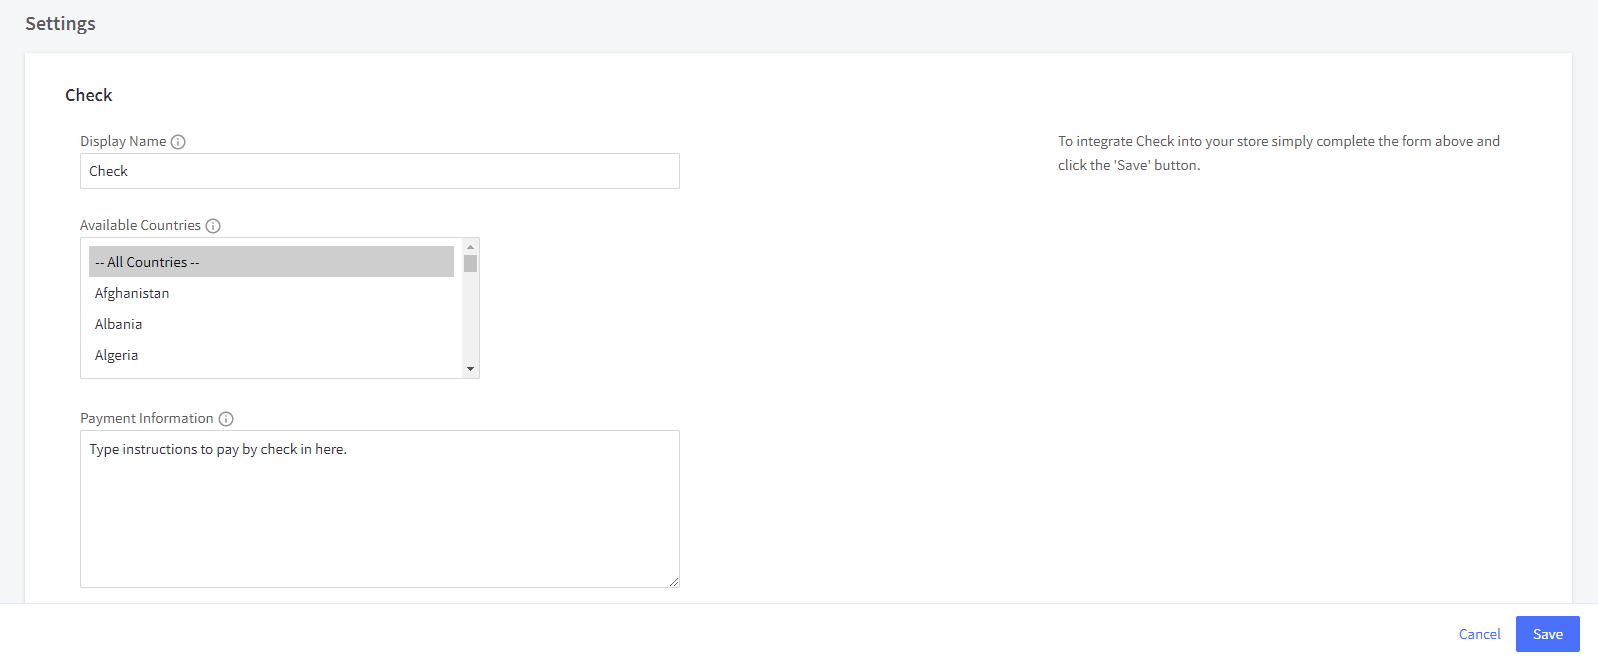
- Save
Checkout & Account Signup Configuration Changes
- In your store portal, go to Advanced Settings > Account Signup Form > Address Fields:
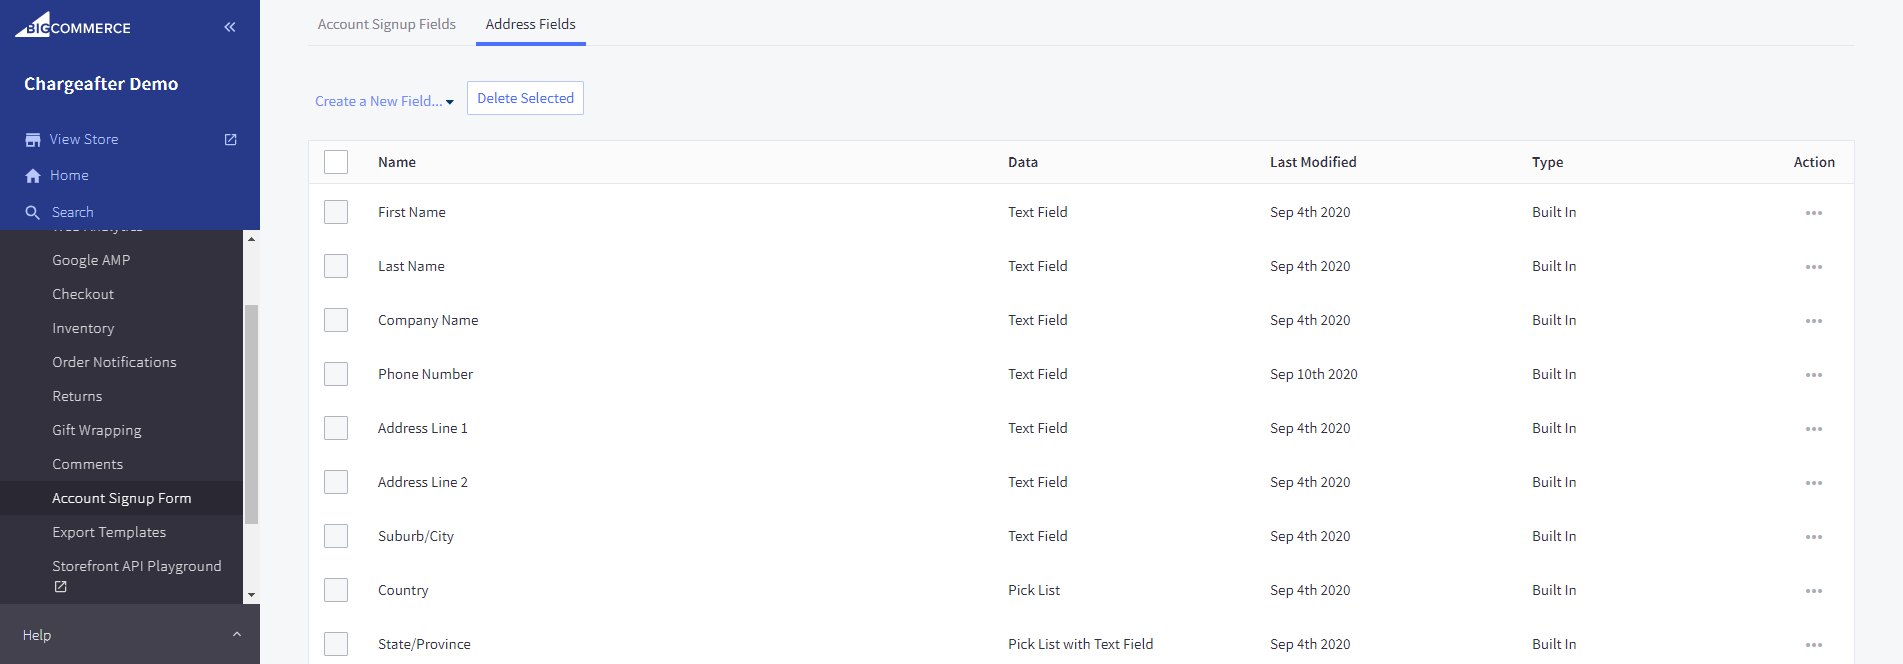
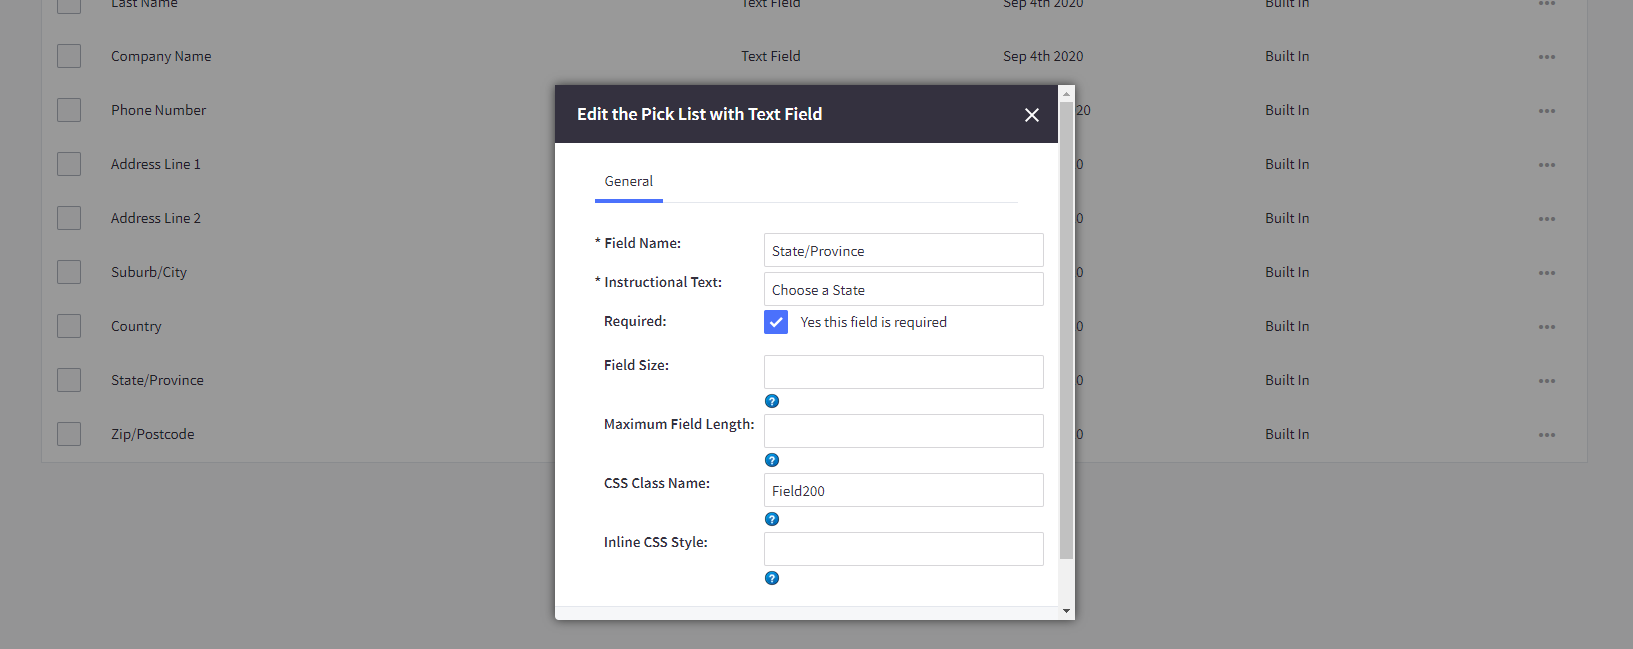
- Edit field settings:
- State/ Province: set checkbox to "Yes this field is required":
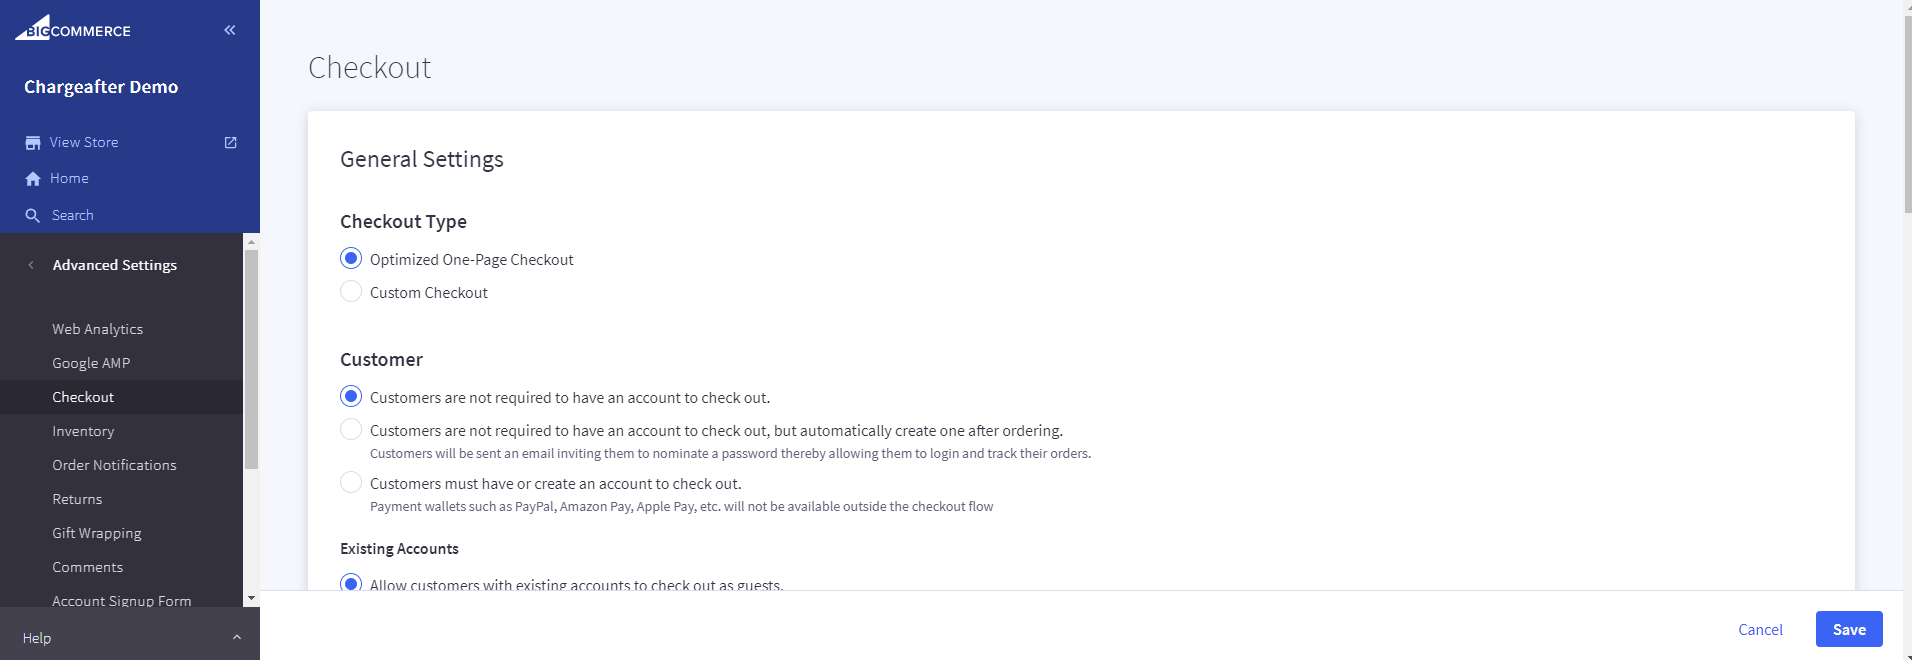
- Go to Advanced Settings > Checkout > under Checkout Type, select "Optimized One-Page Checkout" option:
- You're done!
What's Next?
- Try out the functionality in sandbox environment (Need test data? contact us to receive relevant test data)
- Use the Promotional financing widget to optimize the use of your financing solution
Updated over 2 years ago
What’s Next
