Company Information
Managing your company info in Operate
The Company Information module is organized as follows:
- Overview: The company logo, display name, brand, and channels
- Stores Tab: A list of company store names, store ids, and store status
- Credentials Tab: Access and regenerate public and private API key pairs
- Notifications Tab: Manage email and webhook notifications
Stores Tab
The Stores List displays the following information:
- Store Name
- Store Id
- Store Status: Active or Removed
Credentials Tab
On the Credentials tab you can access and regenerate public and private API key pairs.
Suggested Uses of API Key Pairs
ChargeAfter provides each merchant a pair of public and private API keys for each environment. An API key can be regenerated, which serves several needs:
- Key Rotation: Having two pairs allows for seamless key rotation. For example, you can replace one key pair while the other remains active, minimizing downtime and reducing the risk of service disruption. While a merchant is using KEY PAIR 2, you can regenerate KEY PAIR 1.
- Redundancy and Backup: If KEY PAIR 1 fails for any reason, KEY PAIR 2 can serve as a backup, ensuring continuous operation and enhancing security.
To regenerate an API Key Pair, contact ChargeAfter.
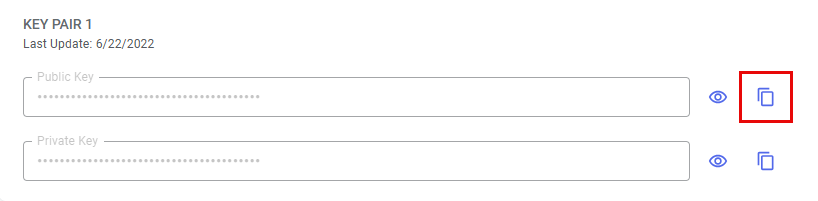
Copying an API Key
To copy an API key to the clipboard, click the Copy icon.
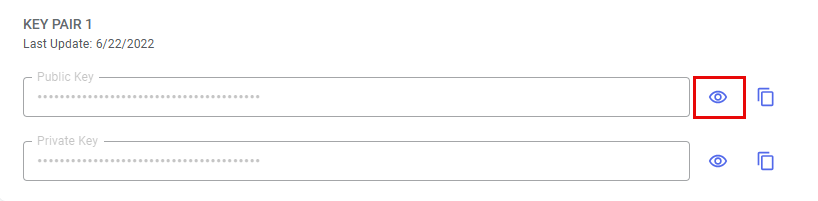
Viewing an API Key
To view an API key:
-
On the Credentials tab, click the View icon next to the API key that you want to view.
-
Click the View icon again to hide the API key.
Notifications Tab
On the Notifications tab, you can manage email and webhook notifications.
Enabling a Notification
To enable a notification:
- Click the Add Notification button.
- Select the Domain (application, disputes, omni-link, postsale).
- Select the Event (per the Domain).
- Select the Delivery Method (email or webhook).
- If Email, enter the email address. Click the Add button to add an additional email address.
If Webhook, enter the Authorization and URL. - Click Save.
Editing a Notification
To edit a notification:
-
In the Notifications List, click the Edit icon at the end of the notification's row.

The Edit Notification pane opens.
-
Make any changes to the notification and click Save.
Deleting a Notification
-
In the Notifications List, click the Delete icon at the end of the notification's row.

The Delete Notification pane opens.
-
Confirm by clicking Delete.
Updated 29 days ago