Lease-to-Own & Warranty Products
Overview
If you offer lease-to-own payment options, indicating products in the cart are leasable or are warranty items will be required. The ChargeAfter Payment app treats all products as leasable or as a warranty item by default. Follow the steps below to correctly tag products as non-leasable or warranty:
Configure Extra Feature option
-
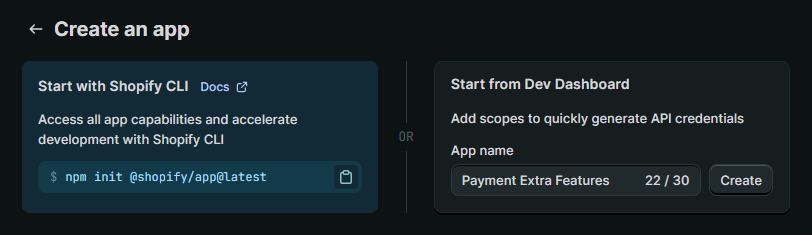
Navigate to Shopify Dev Dashboard > Apps.

-
Click on Create App, type any name and submit to create.
-
Scroll to the URLs section and type
App URLashttps://shopify.dev/apps/default-app-home -
Scroll down and click on Release button, confirm the release creation
-
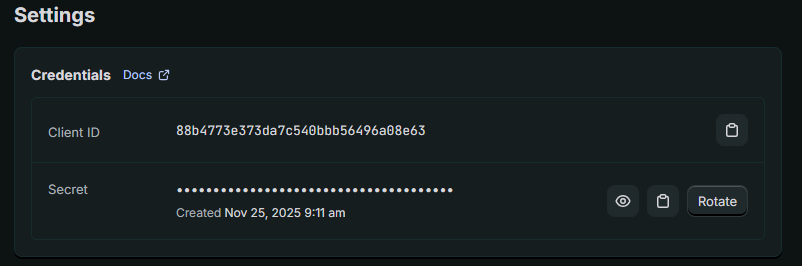
Navigate to Settings tab, copy Client ID and Secret values. These values will apply for using [authorization code grant](Implement authorization code grant manually)
-
Build URI by template and redirect to
https://{shop}.myshopify.com/admin/oauth/authorize?client_id={client_id}&scope=read_products&grant_options[]=access_mode
Where:
{shop}- The name of the shop store{client_id}- The client ID for the app (a copy from step 5)
-
Complete app installation
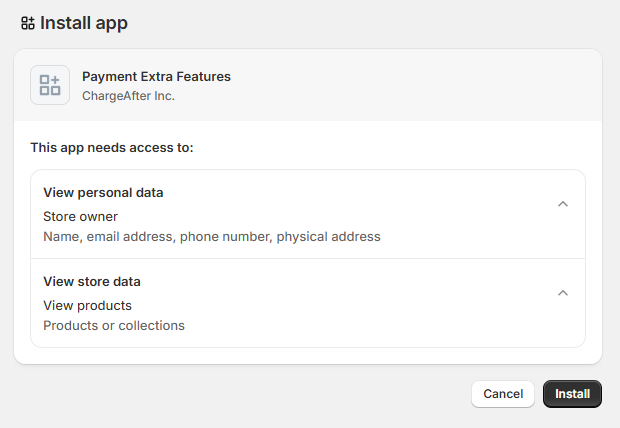
Copy a
codevalue from the address field after redirect tohttps://shopify.dev/apps/default-app-home(configuredApp URLon step 3)
-
Use a Curl \ Postman (or a similar software) to get access token via a code
curl -X POST
     https\://{shop}.myshopify.com/admin/oauth/access_token
     -H 'Content-Type: application/x-www-form-urlencoded'
     -H 'Accept: application/json'
     -d 'client_id={client_id}'
     -d 'client_secret={client_secret}'
     -d 'code={authorization_code}'
Where:
{client_id}- The client ID for the app (a copy from step 5){client_secret}- The client secret for the app (a copy from step 5){authorization_code}- The authorization code provided in the redirect (a copy from step 7)
Copy
access_tokenvalue from a response:{ "access_token": "f85632530bf277ec9ac6f649fc327f17", "scope": "write_orders,read_customers" } -
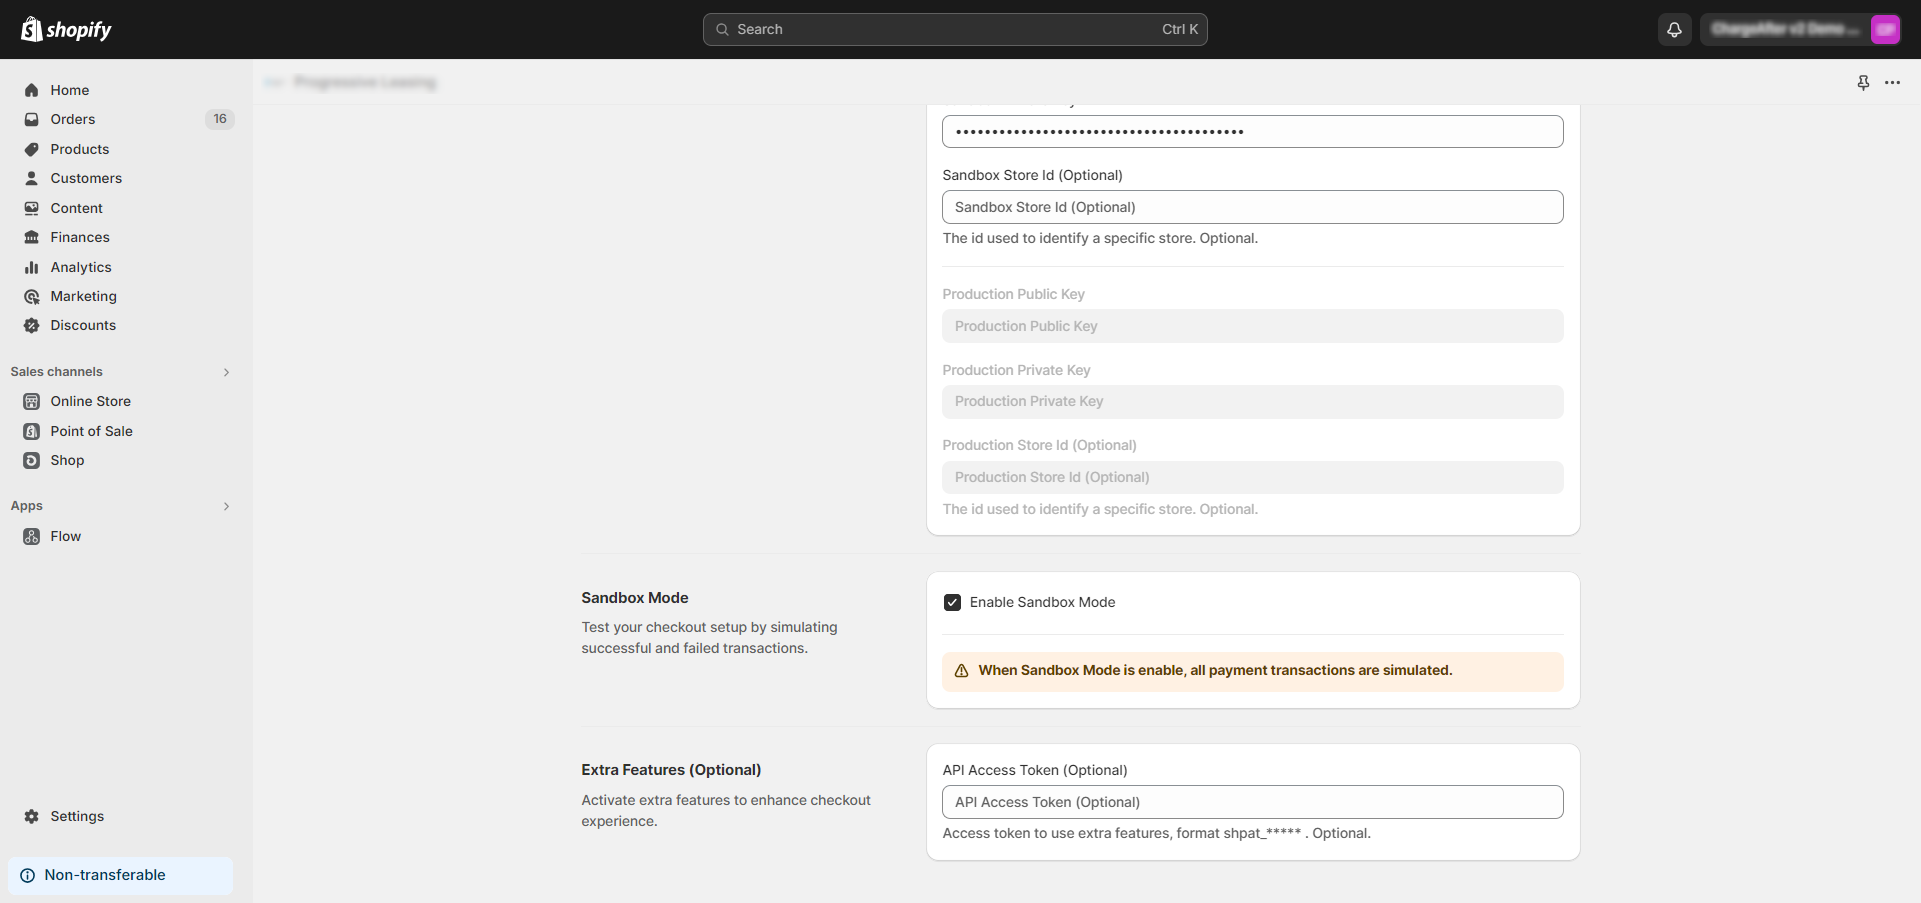
Navigate to Admin > Settings > Payments, choose the payment method and click on Manage button.
-
Scroll to Extra Features section and paste copied access token in the next field, save changes.
Settings Page
Tag Product as Non-Leasable
- From the Admin, go to the Product details page.
- In the Organization section, under Tags, enter the words “no leasable” and press Enter.
The product should now be tagged as no leasable as shown below:

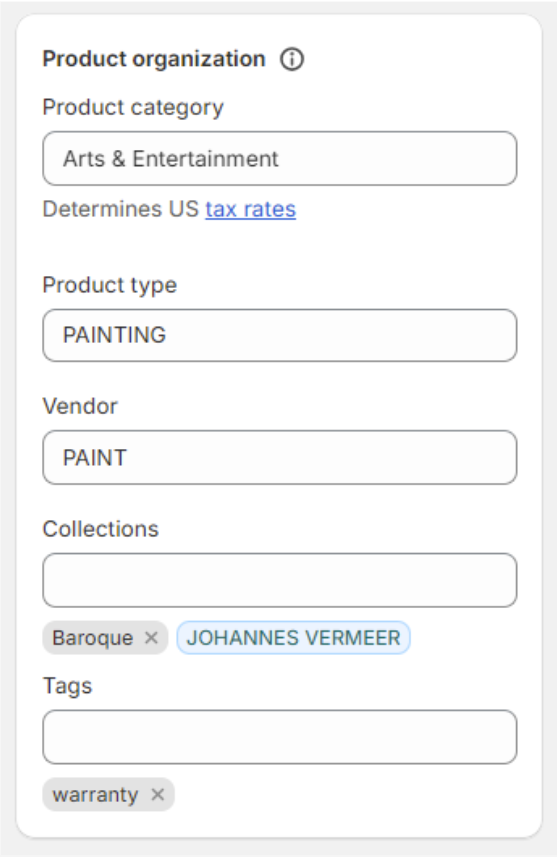
Tag Warranty Items
-
From the Admin, go to the Product details page.
-
In the Product Organization section, under Tags, enter “warranty” as pictured below and press Enter.
Updated 4 months ago