Installation
Before You Start
Make sure you have Public and Private API keys to use as part of the setup process
Install The ChargeAfter Plugin
- Download the ChargeAfter Financing module from the Miva marketplace
Alternatively, contact the integration team and ask for the Miva module file.
- Unzip the file
- Sign into the Miva Merchant Admin page
- In the top panel, enter "add module" in the search field:

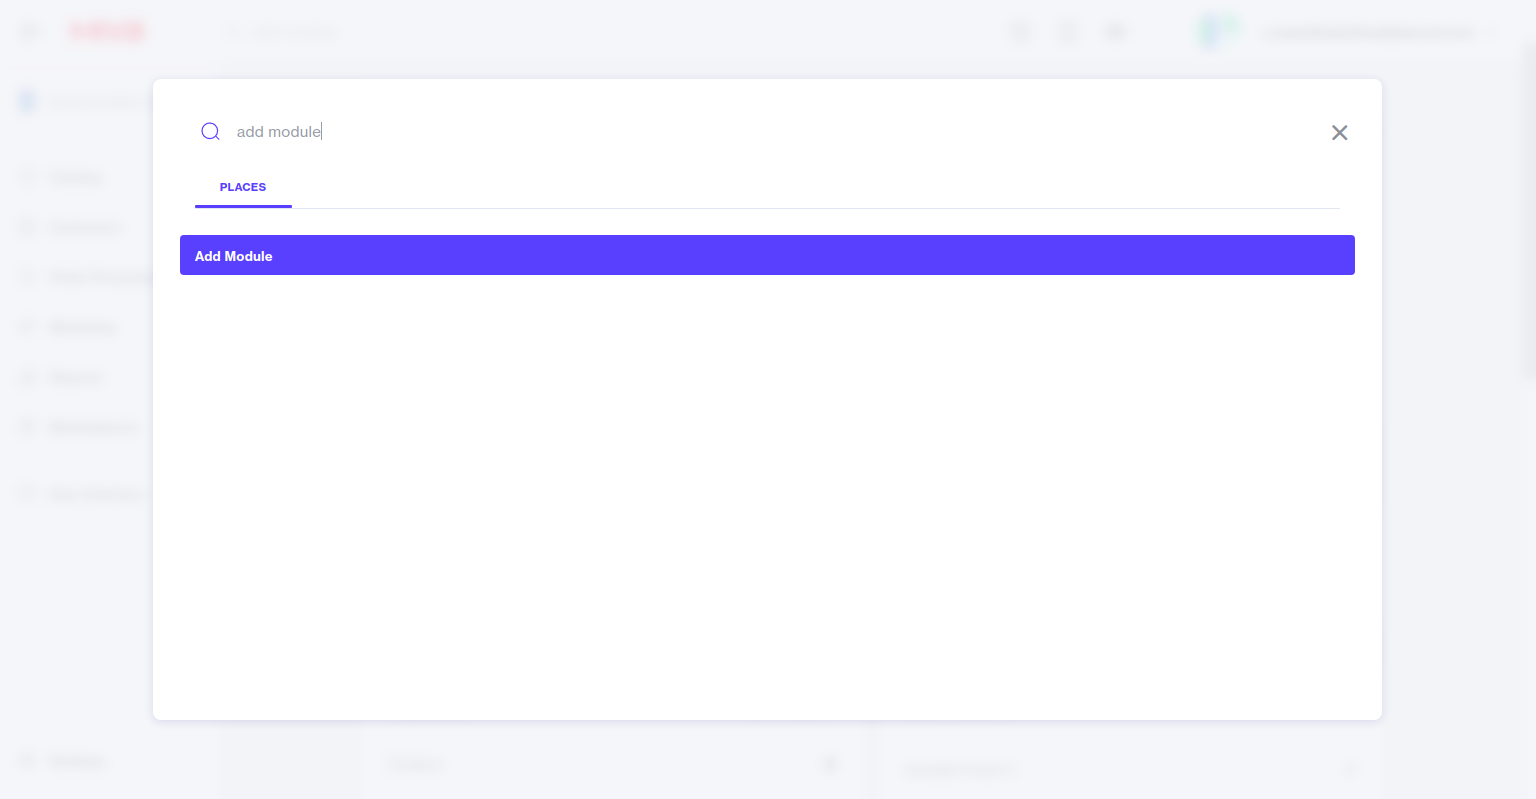
- Select Add Module item or go to Settings > Domain Settings > Modules > Add Module:

- Сlick on upload and select the .mvc file from the unpacked archive (step 2) > Upload:
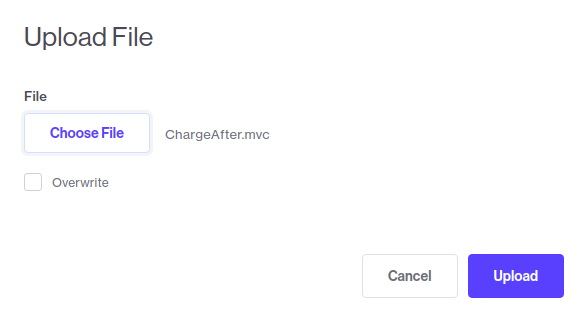
- In the Add Module window, click Add:

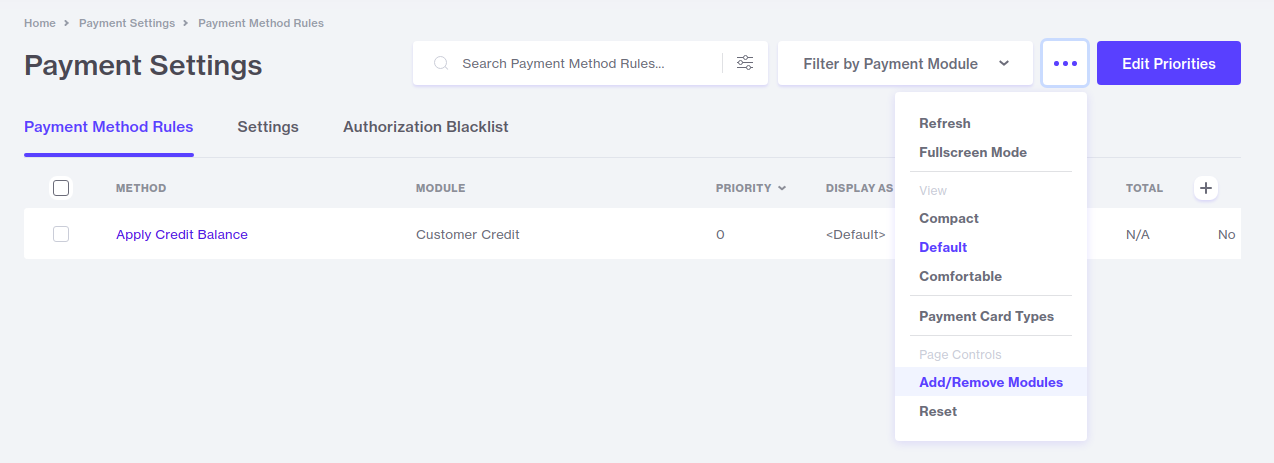
- Go to Settings > Payment Settings > open the additional action (...) menu > Add/Remove Modules:
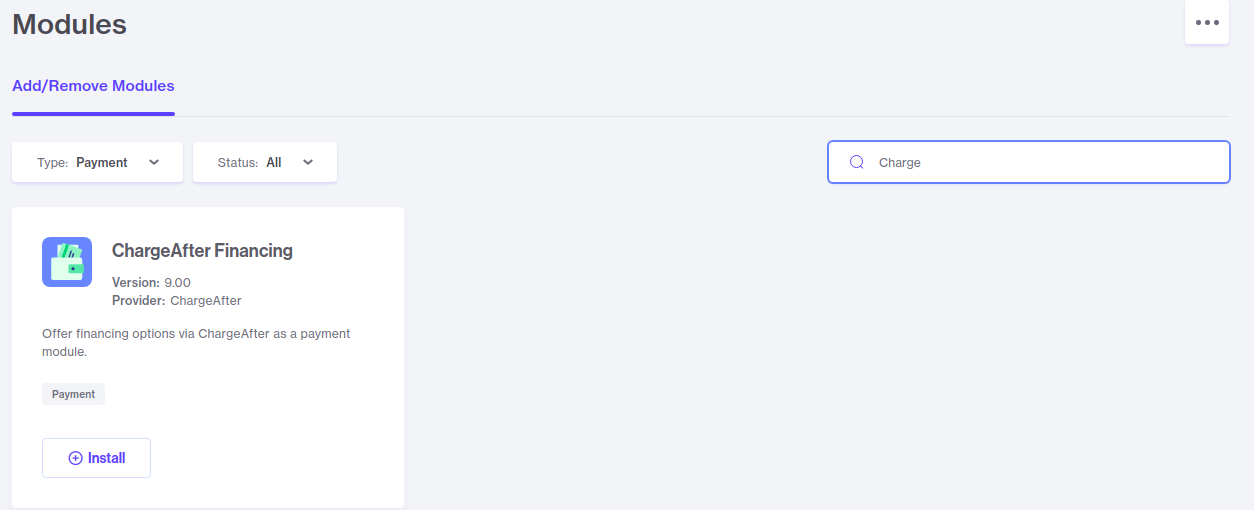
- Make sure that the payment type is selected and enter "charge" in the search field > click Install for ChargeAfter Financing:
Configure ChargeAfter as a Payment Method
To use the ChargeAfter as a payment method, you must use an OPAY screen with the Global Head item included and assigned to the checkout page, which is the default setup. The appropriate snippet is automatically inserted into the global head template.
- Fill in the public and private key fields
- Set the ChargeAfter operating mode (Sandbox or Production):
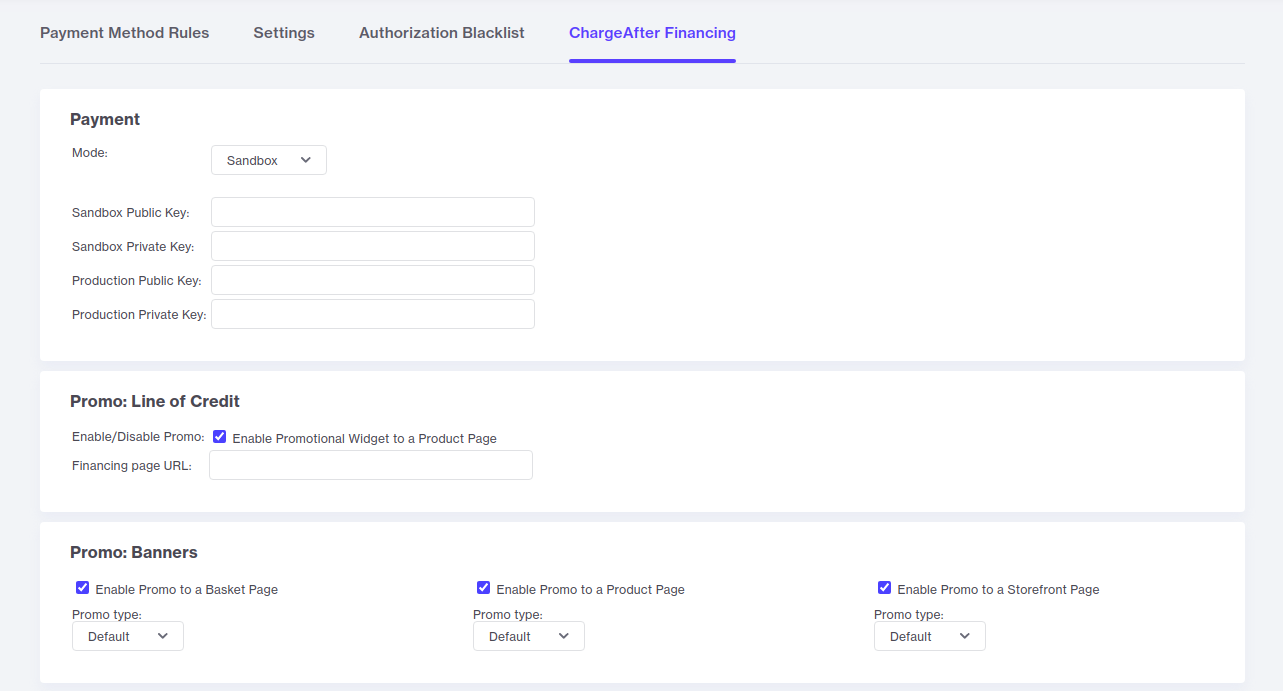
- Click the Update button
Updated over 2 years ago
What’s Next
